As I explained in my talk on PostgreSQL Conference Europe 2025, data corruption can be silently present in any PostgreSQL database and will remain undetected until we physically read corrupted data. There can be many reasons why some data blocks in tables or other objects can be damaged. Even modern storage hardware is far from being infallible. Binary backups done with pg_basebackup tool – which is very common backup strategy in PostgreSQL environment – leave these problems hidden. Because they do not check data but copy whole data files as they are. With release of PostgreSQL 18, the community decided to turn on data‑checksums by default – a major step toward early detection of these failures. This post examines how PostgreSQL implements checksums, how it handles checksum failures, and how we can enable them on existing clusters.
 On September 4, 2025, the third pgday Austria took place in the Apothecary Wing of Schönbrunn Palace in Vienna, following the previous events in 2021 and 2022.
153 participants had the opportunity to attend a total of 21 talks and visit 15 different sponsors, discussing all possible topics related to PostgreSQL and the community.
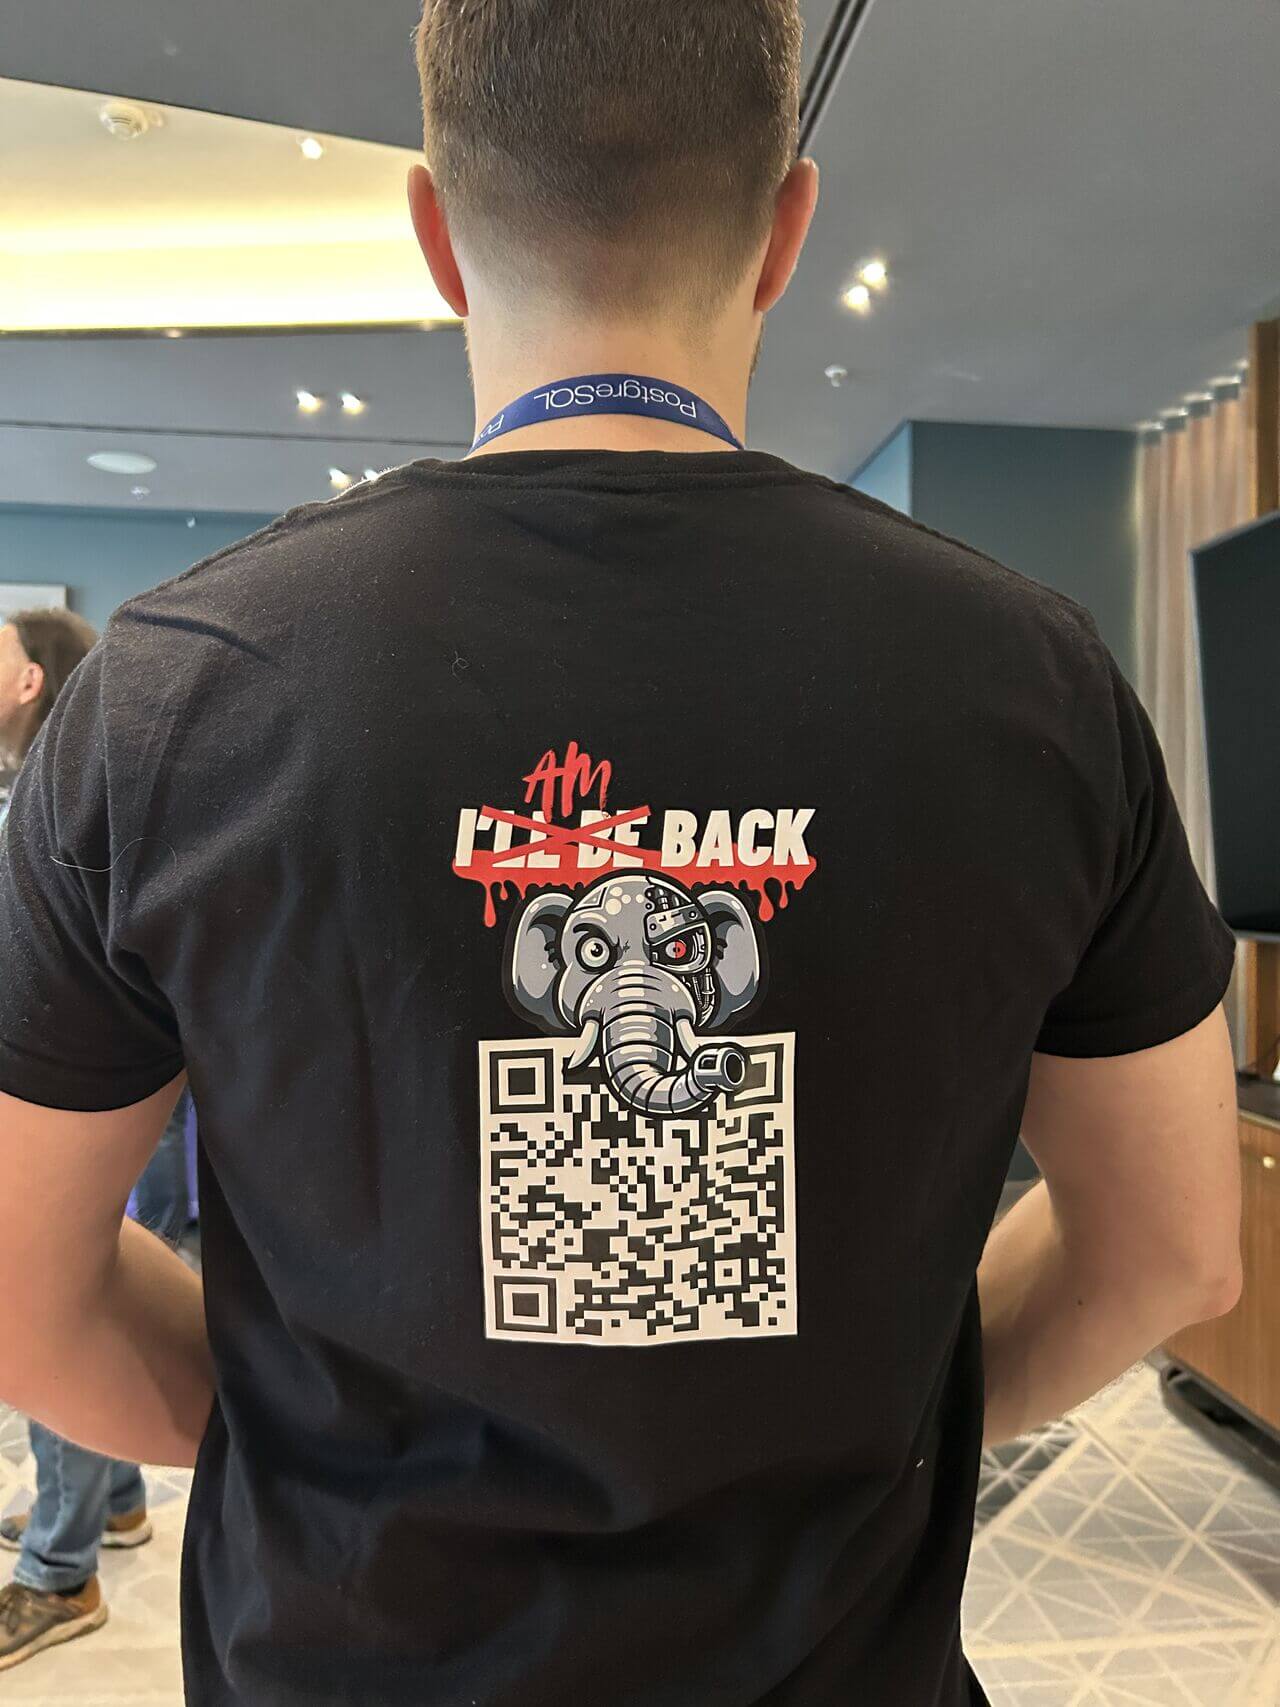
Also present this time was the Sheldrick Wildlife Trust, which is dedicated to rescuing elephants and rhinos. Attendees could learn about the project, make donations, and participate in a raffle.
The talks ranged from topics such as benchmarking and crash recovery to big data.
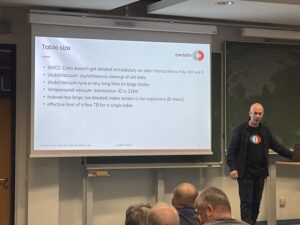
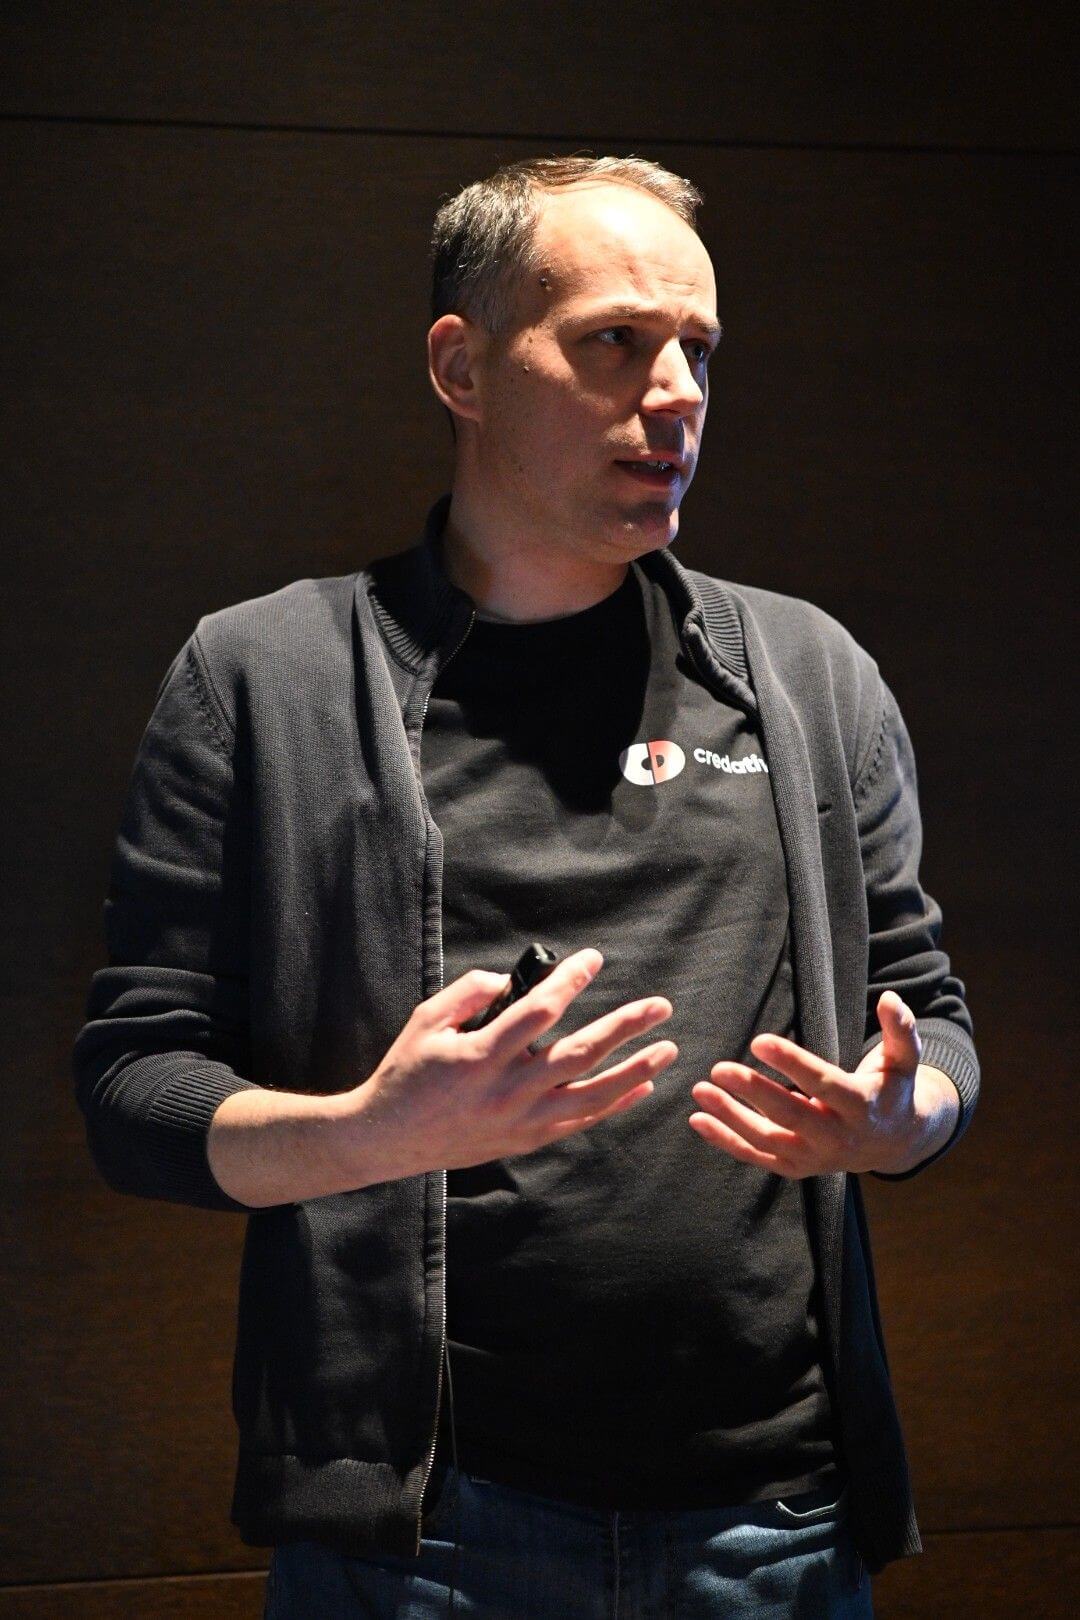
Our colleague was also represented with his talk “Postgres with many data: To MAXINT and beyond“.
As a special highlight, at the end of the day, before the networking event, and in addition to the almost obligatory lightning talks, there was a “Celebrity DB Deathmatch” where various community representatives came together for a very entertaining stage performance to find the best database in different disciplines. To everyone’s (admittedly not great) surprise, PostgreSQL was indeed able to excel in every category.
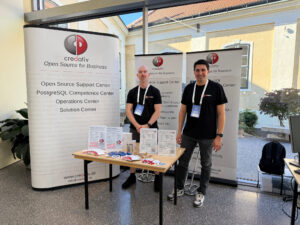
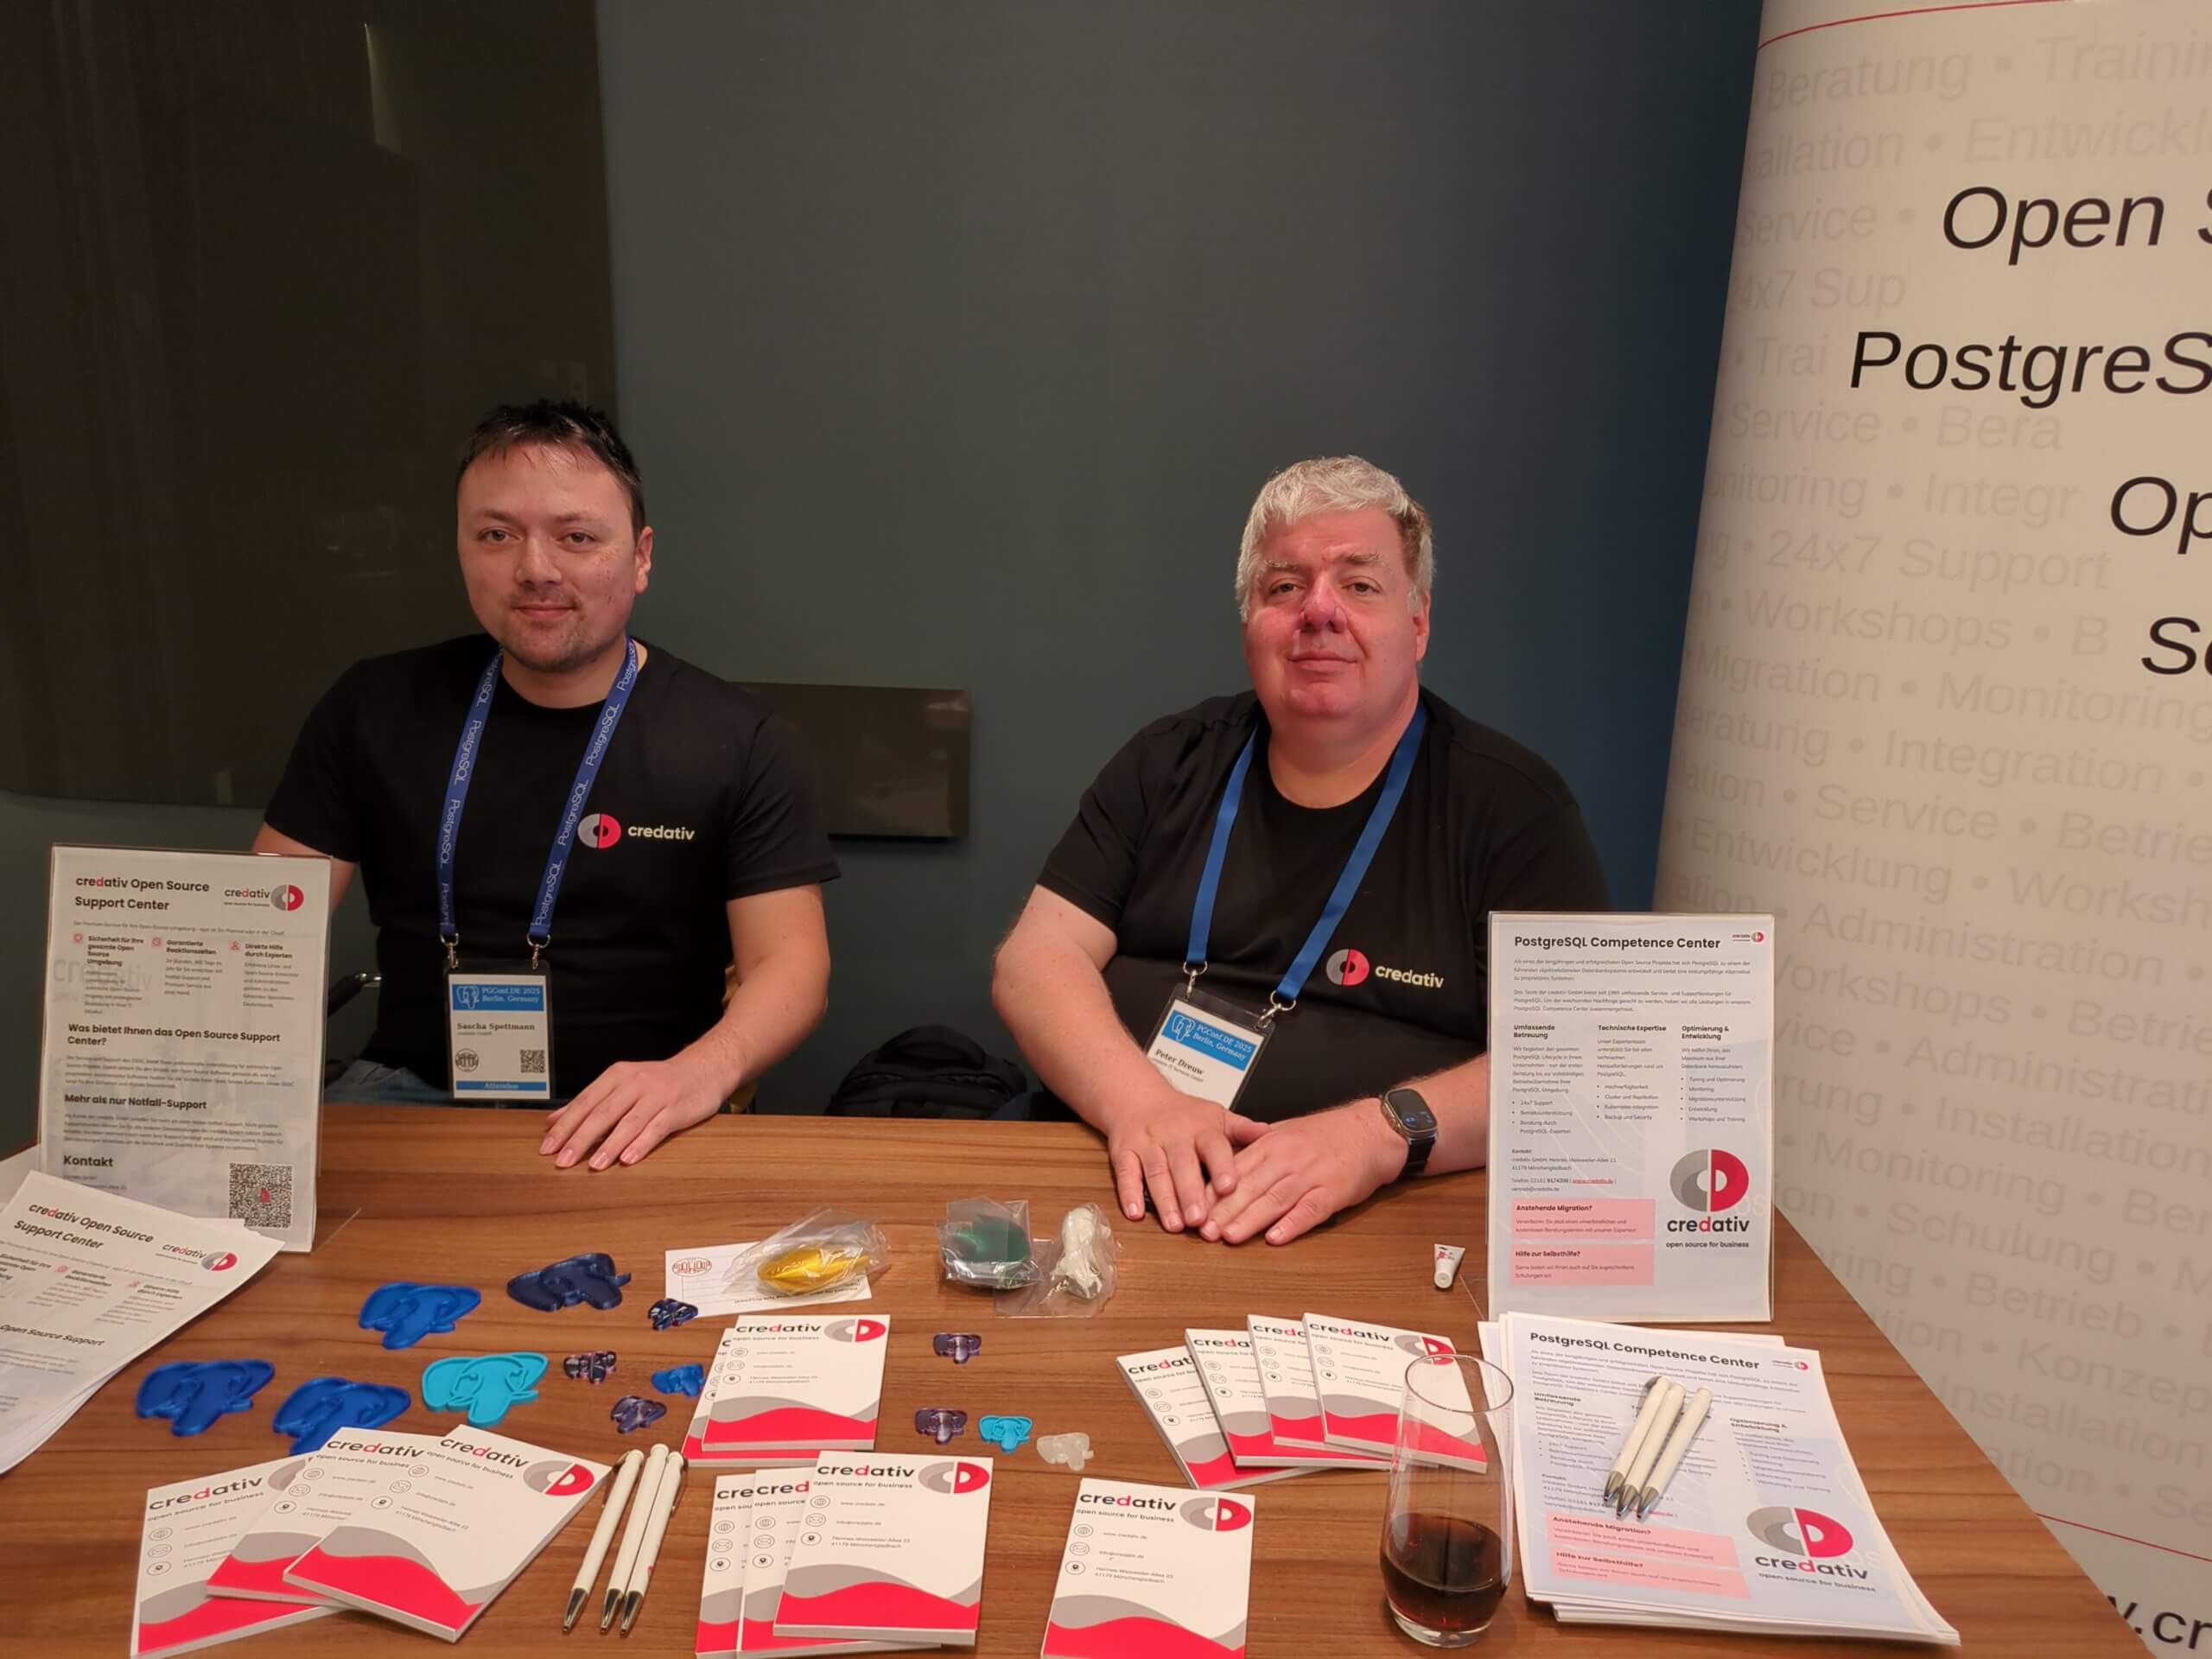
Additionally, our presence with our own booth gave us the opportunity to have many very interesting conversations and discussions with various community members, as well as sponsors and visitors in general.
For the first time, the new managing director of credativ GmbH was also on site after our re-independence and saw things for himself.
All in all, it was a (still) somewhat smaller, but nonetheless, as always, a very instructive and familiar event, and we are already looking forward to the next one and thank the organizers and the entire team on site and behind the scenes.
This weekend, it was time once again for FrOScon 2025. With perfect summer weather – not too hot, not too cold – the event took place at the university in Sankt Augustin, as it does every year. But this year was different: FrOScon celebrated its 20th anniversary. I have a special connection to the conference. Not only is it the largest local open source conference, but I have also been a part of it for many years. I have given countless presentations, organised Debian stands, and run and organised developer tracks. In 2007, I even had the pleasure of being part of the organising team. In a way, FrOScon is like coming home. Everywhere you look, you see familiar faces you've known for many years, former and current colleagues, good friends from the open source scene. The only comparable event is Fosdem in Brussels – which is not surprising, as Fosdem is the great role model for FrOScon.
A journey through time – 20 years of FrOScon

I was already involved in the first FrOScon as an exhibitor for the Debian project, speaker and organiser of the Debian track (together with my colleague Martin Zobel-Helas, who is still involved). I could probably still give the presentation on techniques for combating spam today without changing a word, as the topic has lost none of its relevance. The first FrOScon closed its doors with a very respectable attendance of around 300 visitors. I was so enthusiastic that I got directly involved in the organisation the following year – this was also the year we introduced the famous bouncy castle ;). Over the course of 20 years, FrOScon has developed into one of the largest German OSS community events and now attracts around 1,500 visitors every year. Over the years, the conference has also attracted various prominent keynote speakers, including Andrew Tanenbaum and Richard Stallman, to name but a few. Then as now, I can say that FrOScon is the best conference in the West.
FrOScon 2025
Let's get to the actual content of this blog post – FrOScon 2025. We were represented this year with two presentations and several colleagues as visitors. My colleague Patrick Lauer dedicated one of the rooms to the topic of "Postgres with many data". Thanks to c3voc, the presentation is also available as a stream for anyone who was unable to attend, so everyone can fill this knowledge gap at a later date.
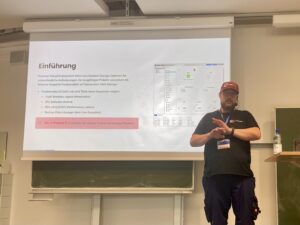
I also gave a presentation again this year. The topic was Proxmox VE and external block devices. I talked about the different types of block devices, such as ISCSI, Fibre Channel and NVMEoF, and how to use them. This presentation is also available in the c3voc video archive.
Conclusion
This FrOScon was once again a successful event for community members and interested professionals. It's a bit like a class reunion: you see lots of familiar faces and are excited to find out what everyone has been up to since you last met. Even if I'm hopefully retired by then, I would be delighted to give a presentation at FrOScon #40 ;).
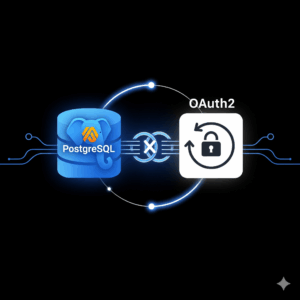 With the release of the beta version of PostgreSQL 18, an exciting new feature was introduced: native support for OAuth2. Since I couldn’t find any guide or blog post online showing how to use this feature, I decided out of curiosity to try it out myself.
I created a new project directory and started experimenting.
Environment and Objective
The goal was to set up PostgreSQL 18 Beta with OAuth2 authentication; for the identity provider, I chose Keycloak.
I decided to use Docker Compose to quickly and easily spin up both services.
Docker Compose Configuration
Here is the docker-compose.yml, which I used:
services:
  mock-oauth2:
    image: quay.io/keycloak/keycloak:24.0
    command: start --https-port=8080 --https-key-store-file=/etc/x509/https/localhost.p12 --https-key-store-password=changeit --import-realm --hostname-strict=false --hostname-url=https://mock-oauth2:8080
    ports:
      - "8080:8080"
    environment:
      KEYCLOAK_ADMIN: admin
      KEYCLOAK_ADMIN_PASSWORD: admin
    volumes:
      - ./certs:/etc/x509/https
      - ./keycloak-realm.json:/opt/keycloak/data/import/realm.json
    networks:
      - pgnet

  postgres18:
    build: .
    ports:
      - "5432:5432"
    environment:
      POSTGRES_PASSWORD: postgres
    volumes:
      - ./postgres/postgresql.conf:/etc/postgresql/postgresql.conf
      - ./postgres/pg_hba.conf:/etc/postgresql/pg_hba.conf
    command: ["-c", "config_file=/etc/postgresql/postgresql.conf"]
    networks:
      - pgnet

networks:
  pgnet:
    driver: bridge
PostgreSQL expects a connection to the OAuth2 issuer via HTTPS. The same URL must also be accessible from the host, for example, when using the Keycloak UI. This means the certificate must be valid and trusted on both the host and in the container.
The hostname used (e.g., https://mock-oauth2:8080) must be correctly resolvable in both environments.
For this, I added the following line to my /etc/hosts file on the host:
127.0.0.1 mock-oauth2This allowed both the PostgreSQL container and my host to reach the Keycloak service at https://mock-oauth2:8080.
TLS Certificate for Keycloak
Keycloak absolutely requires an HTTPS endpoint for the OAuth2 issuer URL to be accepted by PostgreSQL.
For this, I created a self-signed certificate and converted it into a .p12 keystore package that Keycloak can use.
The .p12 certificate is integrated into the container via the following mount:
volumes:
  - ./certs:/etc/x509/https
In the certs directory, there is the localhost.p12 file, which I created from my self-signed key and certificate as follows:
openssl req -x509 -nodes -days 365 \
  -newkey rsa:2048 \
  -keyout server.key \
  -out server.crt \
  -subj "/CN=mock-oauth2" \
  -addext "subjectAltName = DNS:mock-oauth2,DNS:localhost,IP:127.0.0.1"
Keycloak Realm Configuration
I created a minimalist realm file for Keycloak. It contains a client named postgres and a user with corresponding credentials.
Content of keycloak-realm.json:
{
  "realm": "pg",
  "enabled": true,
  "clients": [
    {
      "clientId": "postgres",
      "enabled": true,
      "publicClient": false,
      "redirectUris": ["*"],
      "protocol": "openid-connect",
      "secret": "postgres",
      "directAccessGrantsEnabled": true,
      "standardFlowEnabled": true
    }
  ],
  "users": [
    {
      "username": "postgres",
      "enabled": true,
      "credentials": [
        {
          "type": "password",
          "value": "postgres"
        }
      ]
    }
  ]
}
After importing the realm, Keycloak was ready and the default scope was visible in the UI.
Installation of libpq-oauth and oauth_validator
I had to extend the official PostgreSQL image to include additional dependencies such as the extension libpq-oauth as well as the validator oauth_validator to install.
PostgreSQL 18 experimentally supports OAuth2 authentication. However, PostgreSQL does not provide its own validator library. The official documentation states:
The PostgreSQL distribution does not include libraries for validating OAuth2 tokens. Users must provide their own solution or compile one themselves.
PostgreSQL
Docs –oauth_validator_libraries
For testing, I used the following open-source implementation:
This minimalist C library can be compiled and used as oauth_validator_library in PostgreSQL.
Used Dockerfile
FROM postgres:18beta1

USER root

RUN apt-get update \
    && apt-get install -y libpq-oauth build-essential libkrb5-dev \
       libsasl2-dev libcurl4-openssl-dev postgresql-server-dev-18 git \
    && git clone https://github.com/TantorLabs/oauth_validator.git /tmp/oauth_validator \
    && cd /tmp/oauth_validator \
    && make && make install \
    && rm -rf /tmp/oauth_validator \
    && apt-get remove -y build-essential git \
    && apt-get autoremove -y && rm -rf /var/lib/apt/lists/*
I then used this image for the `postgres18` service in my Docker Compose setup.
Making PostgreSQL Trust the Keycloak CA
PostgreSQL must trust the certificate presented by Keycloak, otherwise the connection to the OAuth2 issuer will be rejected.
For this, I copied the `mock-oauth.crt` file into the PostgreSQL container and placed it in the typical CA path:
/usr/local/share/ca-certificates/Then, inside the container, I executed the following command:
update-ca-certificatesAfter that, the certificate was accepted, and PostgreSQL could successfully verify the connection to the HTTPS issuer.
PostgreSQL Configuration
In pg_hba.conf , I added the following line:
host all all all oauth scope="profile" issuer="https://mock-oauth2:8080/realms/pg" map="oauthmap"In pg_ident.conf, I mapped the identity provided by the token to the PostgreSQL user:
oauthmap "postgresID" "postgres"This mapping may need to be adjusted – depending on how your Keycloak client is configured and which field (e.g.,
preferred_username or sub) is passed in the token.
Connection Test with OAuth2
To test the connection, I used the following `psql` command:
psql "host=localhost \
      port=5432 \
      dbname=postgres \
      user=postgres \
      oauth_issuer=https://mock-oauth2:8080/realms/pg \
      oauth_client_id=postgres \
      oauth_client_secret=changeme \
      oauth_scope=profile"
After the call, a device code message appears, such as:
Visit `https://mock-oauth2:8080/realms/pg/device` and enter the code FBAD-XXYZ.
After logging in with the user credentials, `psql` successfully establishes a connection to PostgreSQL via OAuth2.
Insights and Tips
- PostgreSQL 18 requires HTTPS for the OAuth2 issuer URL – even in a local setup.
pg_hba.confis sensitive to formatting errors. I had to reload the configuration multiple times (SELECT pg_reload_conf();) and carefully analyze the logs.- To trust a local certificate authority, it is sufficient to copy the
.crtcertificate into the container and register it withupdate-ca-certificates. - Keycloak is well-suited for testing with OAuth2, but you may need to experiment with scopes, claims, and secrets until everything aligns with PostgreSQL.
Conclusion
This was an exciting, practical experiment with a promising new feature in PostgreSQL. OAuth2 integration brings PostgreSQL closer to modern identity management solutions and simplifies operations in environments with centralized authentication.
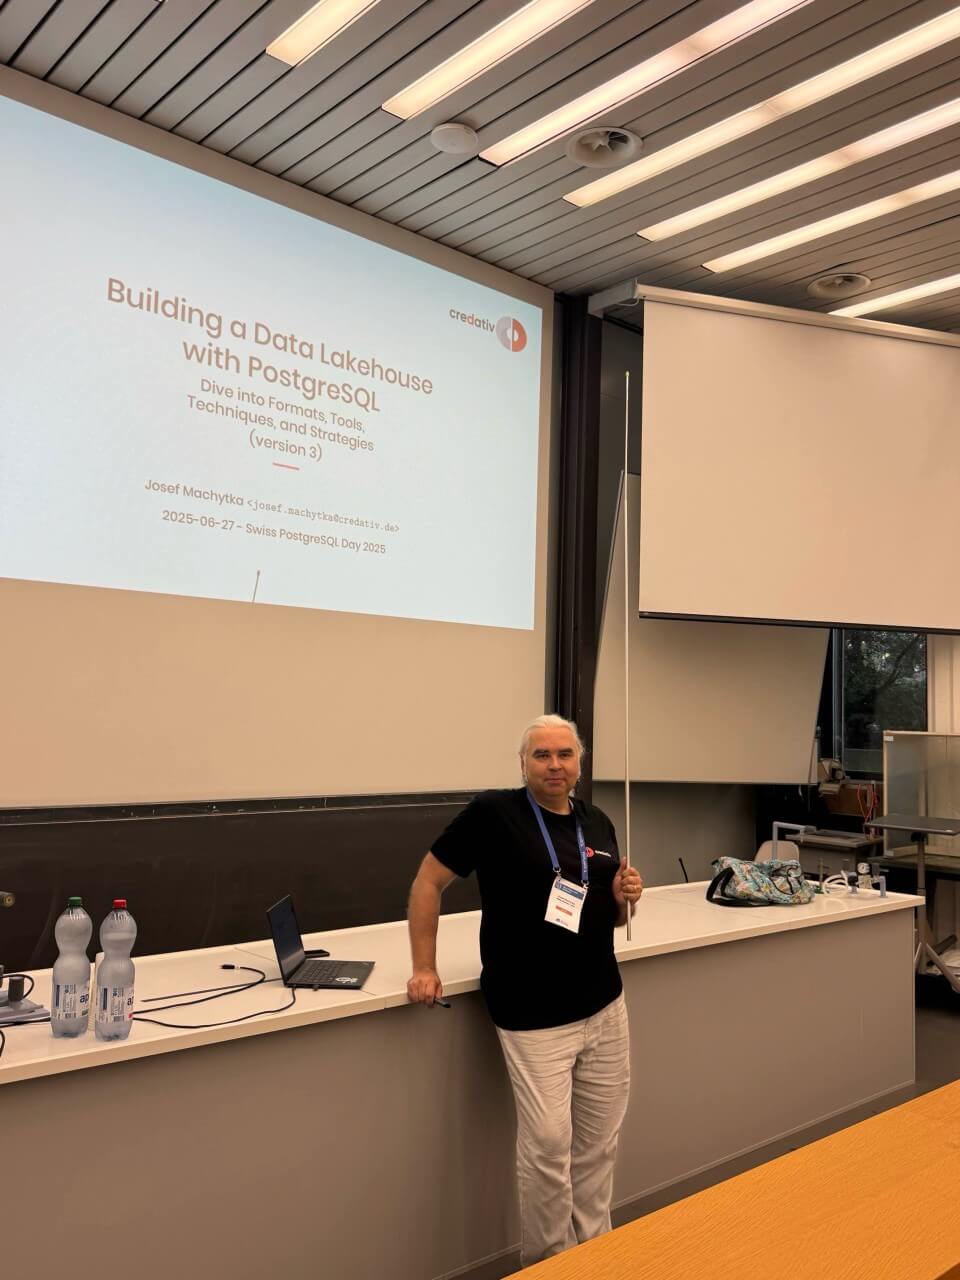
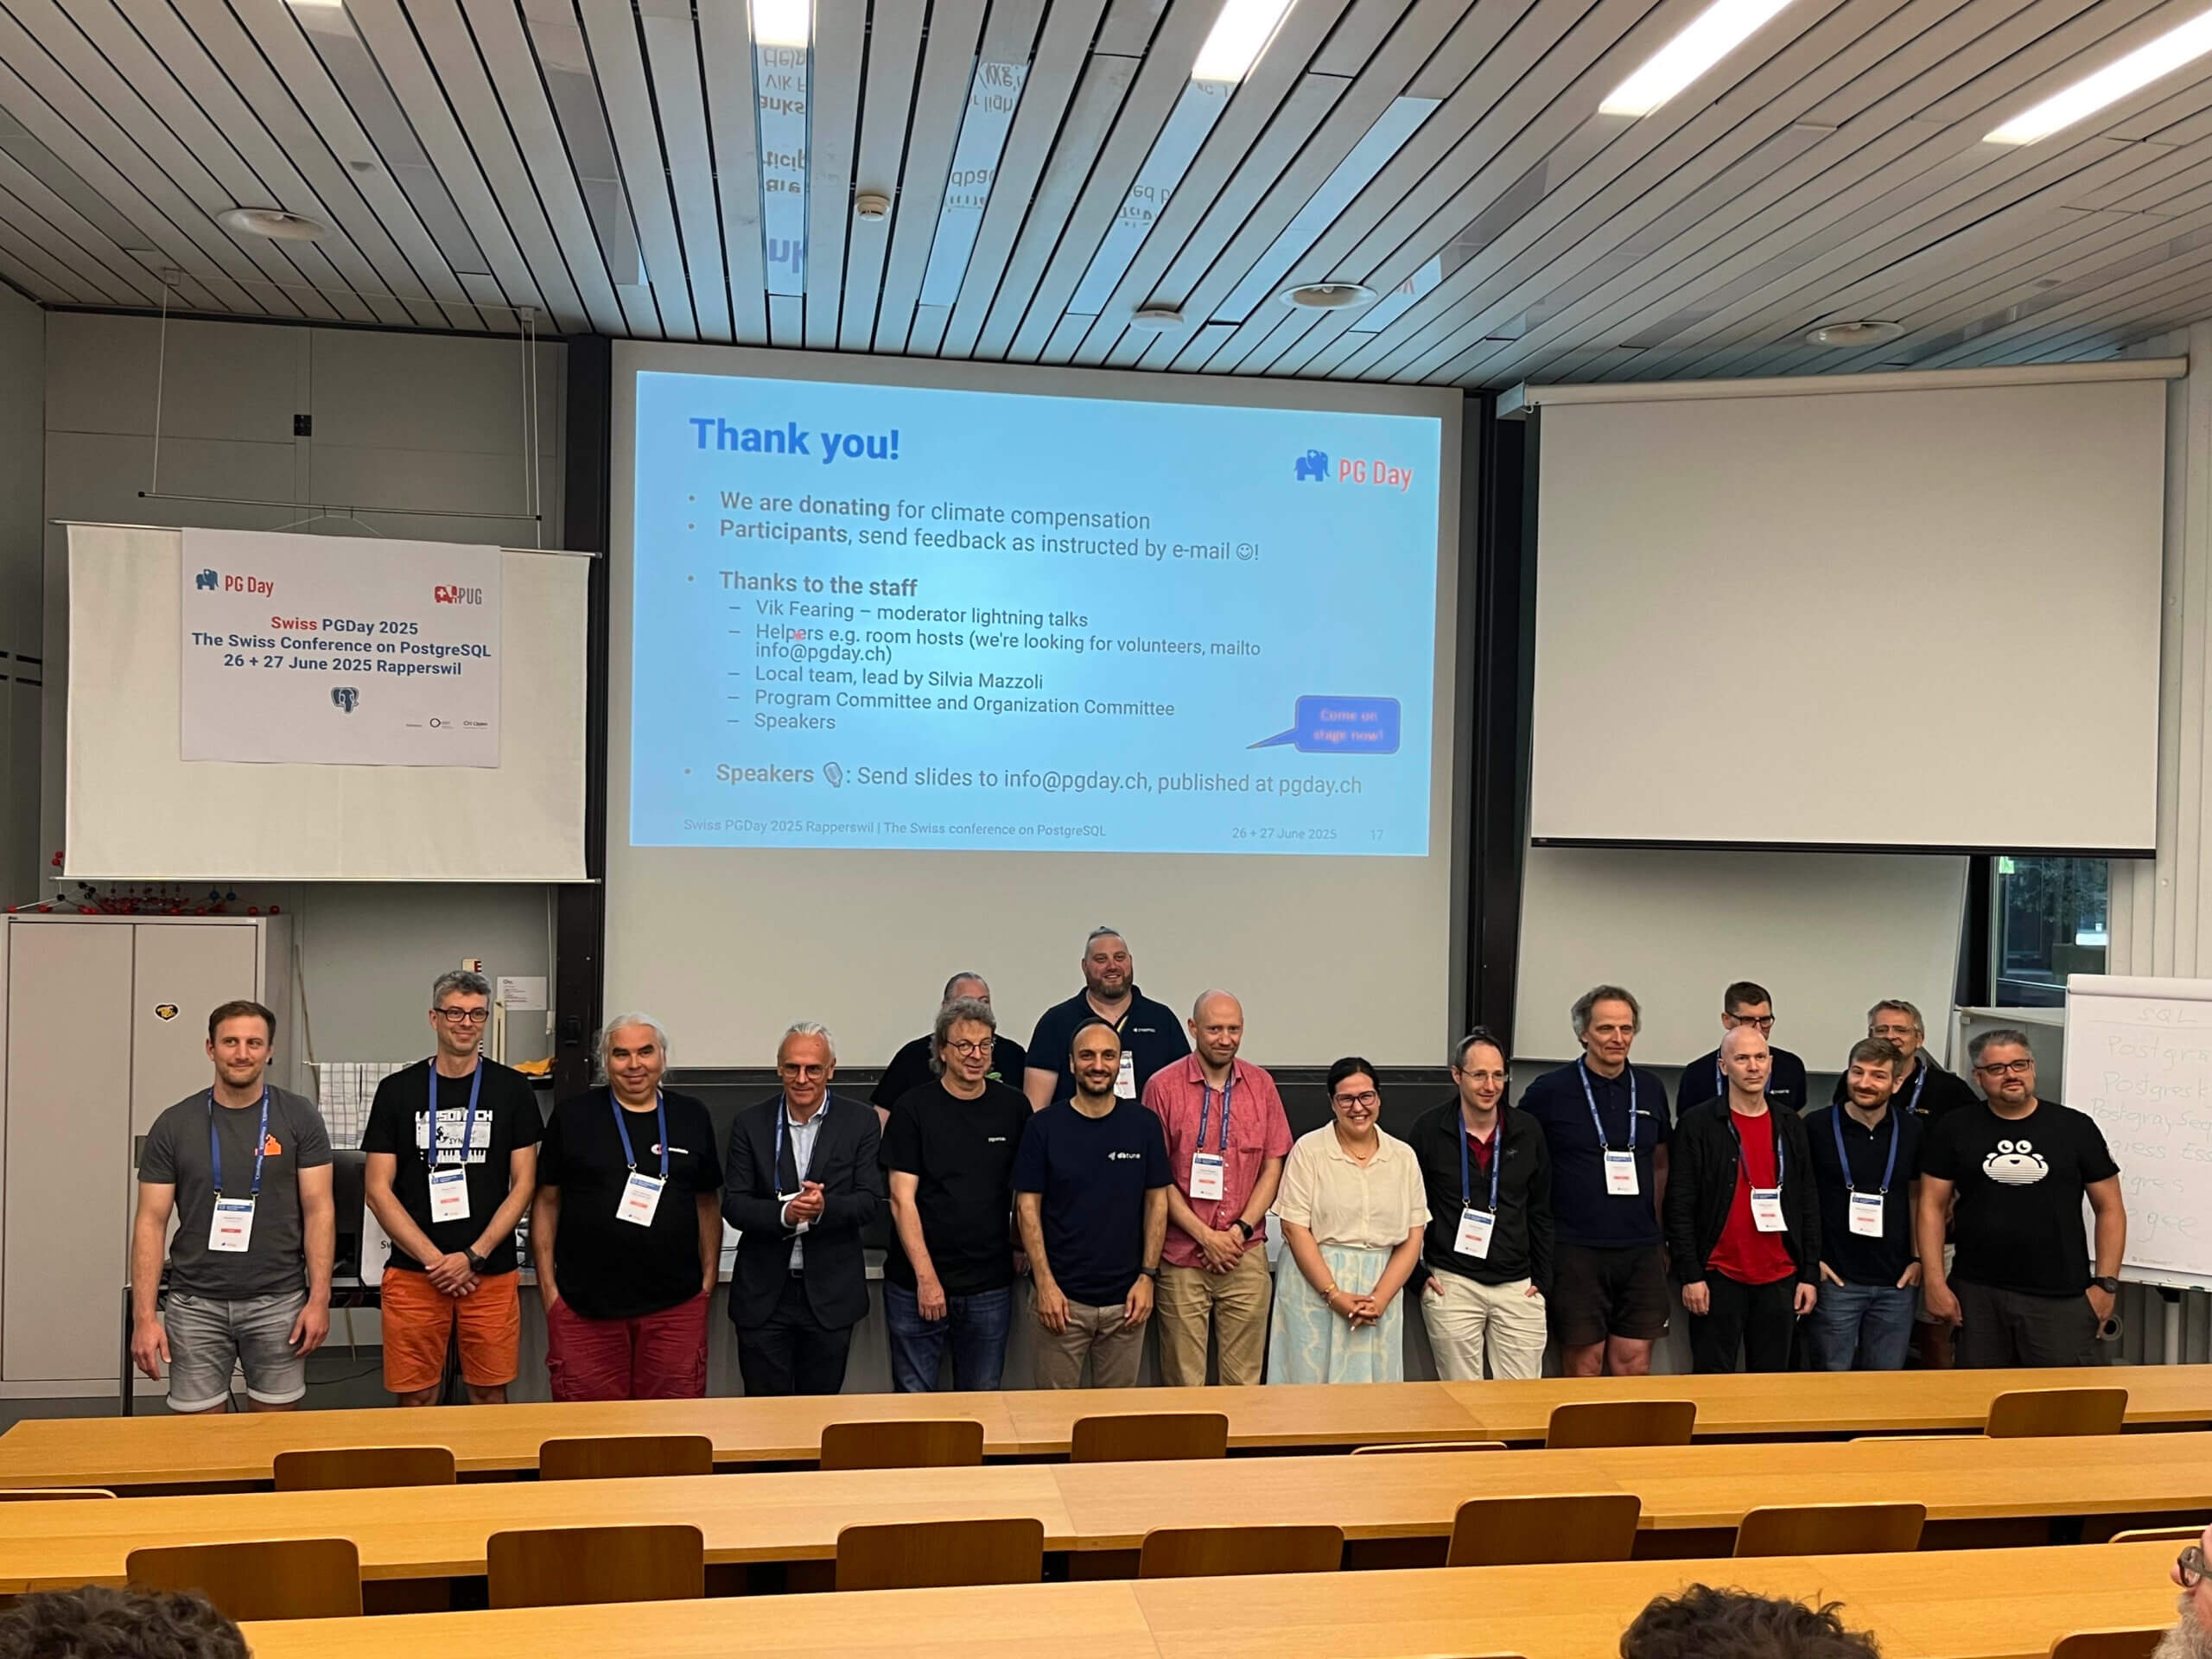
On Thursday, 26 June and Friday, 27 June 2025, my colleague Patrick Lauer and I had the amazing opportunity to attend Swiss PGDay 2025, held at the OST Eastern Switzerland University of Applied Sciences in Rapperswil. This two-day PostgreSQL conference featured two parallel tracks of presentations in English and German, bringing together users and experts primarily from across Switzerland. Our company, credativ, was among the supporters of this year’s conference.
During the event, Patrick delivered an engaging session titled “Postgres with many data: To MAXINT and beyond,” which built on past discussions about massive-scale Postgres usage. He highlighted the practical issues that arise when handling extremely large datasets in PostgreSQL – for instance, how even a simple SELECT COUNT(*) can become painfully slow, and how backups and restores can take days on very large datasets. He also shared strategies to manage performance effectively at these scales.
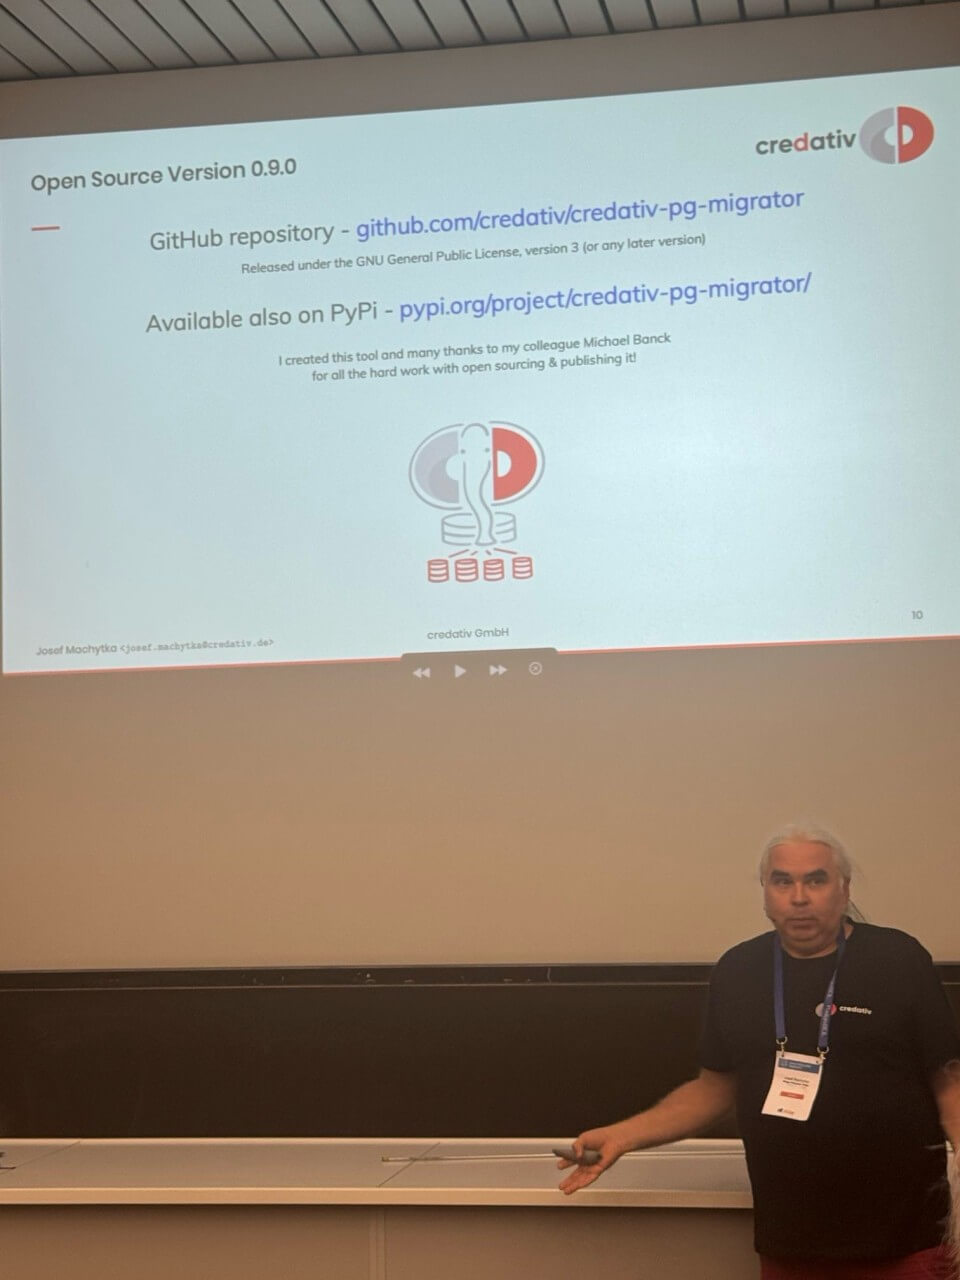
I presented a significantly updated version of my talk, “Building a Data Lakehouse with PostgreSQL: Dive into Formats, Tools, Techniques, and Strategies.” It covered modern data formats and frameworks such as Apache Iceberg, addressing key challenges in lakehouse architectures – from governance, privacy, and compliance, to data quality checks and AI/ML use cases. The talk emphasized PostgreSQL’s capability to play a central role in today’s data lakehouse and AI landscape. At the close of the conference, I delivered a brief lightning talk showcasing our new open-source migration tool, “credativ-pg-migrator.”
(c) photos by Gülçin Yıldırım Jelinek
The conference schedule was packed with many high-quality, insightful talks. We would particularly like to highlight:
* Bruce Momjian – “How Open Source and Democracy Drive Postgres”: In his keynote, Bruce Momjian outlined how PostgreSQL’s open-source development model and democratic governance have powered its success. He explained the differences between open-source and proprietary models, reviewed PostgreSQL’s governance history, and illustrated how democratic, open processes result in robust software and a promising future for Postgres.
* Gülçin Yıldırım Jelinek – “Anatomy of Table-Level Locks in PostgreSQL”: session covered the fundamentals of PostgreSQL’s table-level locking mechanisms. Explained how different lock modes are acquired and queued during schema changes, helping attendees understand how to manage lock conflicts, minimize downtime, and avoid deadlocks during high-concurrency DDL operations.
* Aarno Aukia – “Operating PostgreSQL at Scale: Lessons from Hundreds of Instances in Regulated Private Clouds”: the speaker shared lessons from running extensive Postgres environments in highly regulated industries. He discussed architectural patterns, automation strategies, and “day-2 operations” practices that VSHN uses to meet stringent availability, compliance, and audit requirements, including secure multi-tenancy, declarative deployments, backups, monitoring, and lifecycle management in mission-critical cloud-native setups.
* Bertrand Hartwig-Peillon – “pgAssistant”: Author introduced pgAssistant, an open-source tool designed to help developers optimize PostgreSQL schemas and queries before production deployment. He demonstrated how pgAssistant combines deterministic analysis with an AI-driven approach to detect schema inconsistencies and suggest optimizations, effectively automating best practices and performance tuning within development workflows.
* Gianni Ciolli – “The Why and What of WAL”: Gianni Ciolli provided in a great Italian style concise history and overview of PostgreSQL’s Write-Ahead Log (WAL). He explained WAL’s central role in PostgreSQL for crash safety, backups, and replication, showcasing examples of WAL-enabled features like fast crash recovery, efficient hot backups, physical replication, and logical decoding.
* Daniel Krefl – “Hacking pgvector for performance”: The speaker presented an enhanced version of the pgvector extension for massive data processing, optimized by maintaining the vector index outside PostgreSQL memory and offloading computations, including GPU integration. He detailed the process of moving pgvector’s core logic externally for improved speed, demonstrating notable performance gains in the EU AERO project context. He also talked about distributed PostgreSQL XC, XL and TBase, which are unfortunately stuck on the old version 10 and how he ported changes from these projects into the version 16.
* Luigi Nardi – “A benchmark study on the impact of PostgreSQL server parameter tuning”: Luigi Nardi presented comprehensive benchmark results on tuning PostgreSQL configuration parameters. Highlighting that many users default settings, he demonstrated how significant performance improvements can be achieved through proper tuning across various workloads (OLTP, OLAP, etc.), providing actionable insights tailored to specific environments.
* Renzo Dani – “From Oracle to PostgreSQL: A HARD Journey and an Open-Source Awakening”: Author recounted his experiences migrating a complex enterprise application from Oracle to PostgreSQL, addressing significant challenges such as implicit type casting, function overloading differences, JDBC driver issues, and SQL validation problems. He also highlighted the benefits, including faster CI pipelines, more flexible deployments, and innovation opportunities provided by open-source Postgres, along with practical advice on migration tools, testing strategies, and managing trade-offs.
(c) photo by Swiss PostgreSQL User Group
At the end of the first day, all participants enjoyed a networking dinner. We both want to sincerely thank the Swiss PGDay organizers (Swiss PostgreSQL User Group) for an amazing event. Swiss PGDay 2025 was a memorable and valuable experience, offering great learning and networking opportunities. We are also very grateful to credativ for enabling our participation, and we look forward to future editions of this excellent conference.
Many companies these days are thinking about migrating their databases from legacy or proprietary system to PostgreSQL. The primary aim is to reduce costs, enhance capabilities, and ensure long-term sustainability. However, even just the idea of migrating to PostgreSQL can be overwhelming. Very often, knowledge about the legacy applications is limited or even lost. In some cases, vendor support is diminishing, and expert pools and community support are shrinking. Legacy databases are also often running on outdated hardware and old operating systems, posing further risks and limitations. (more…)
We are very pleased to be hosting the 5th PostgreSQL User Group NRW Meetup – in our new offices right next to Borussia Park in Mönchengladbach! (more…)
PGConf.DE 2025, the 9th Annual PostgreSQL Conference Germany, was held on May 8–9, 2025, at the Marriott Hotel near Potsdamer Platz in Berlin. The event interconnected PostgreSQL enthusiasts, developers, DBAs, and industry sponsors for two days of fascinating talks across four parallel tracks. It was the biggest event so far, with 347 attendees. The whole conference was very well organized, and therefore special thanks are due to all the organizers—in particular Andreas Scherbaum, the main organizer—for their efforts and hard work.
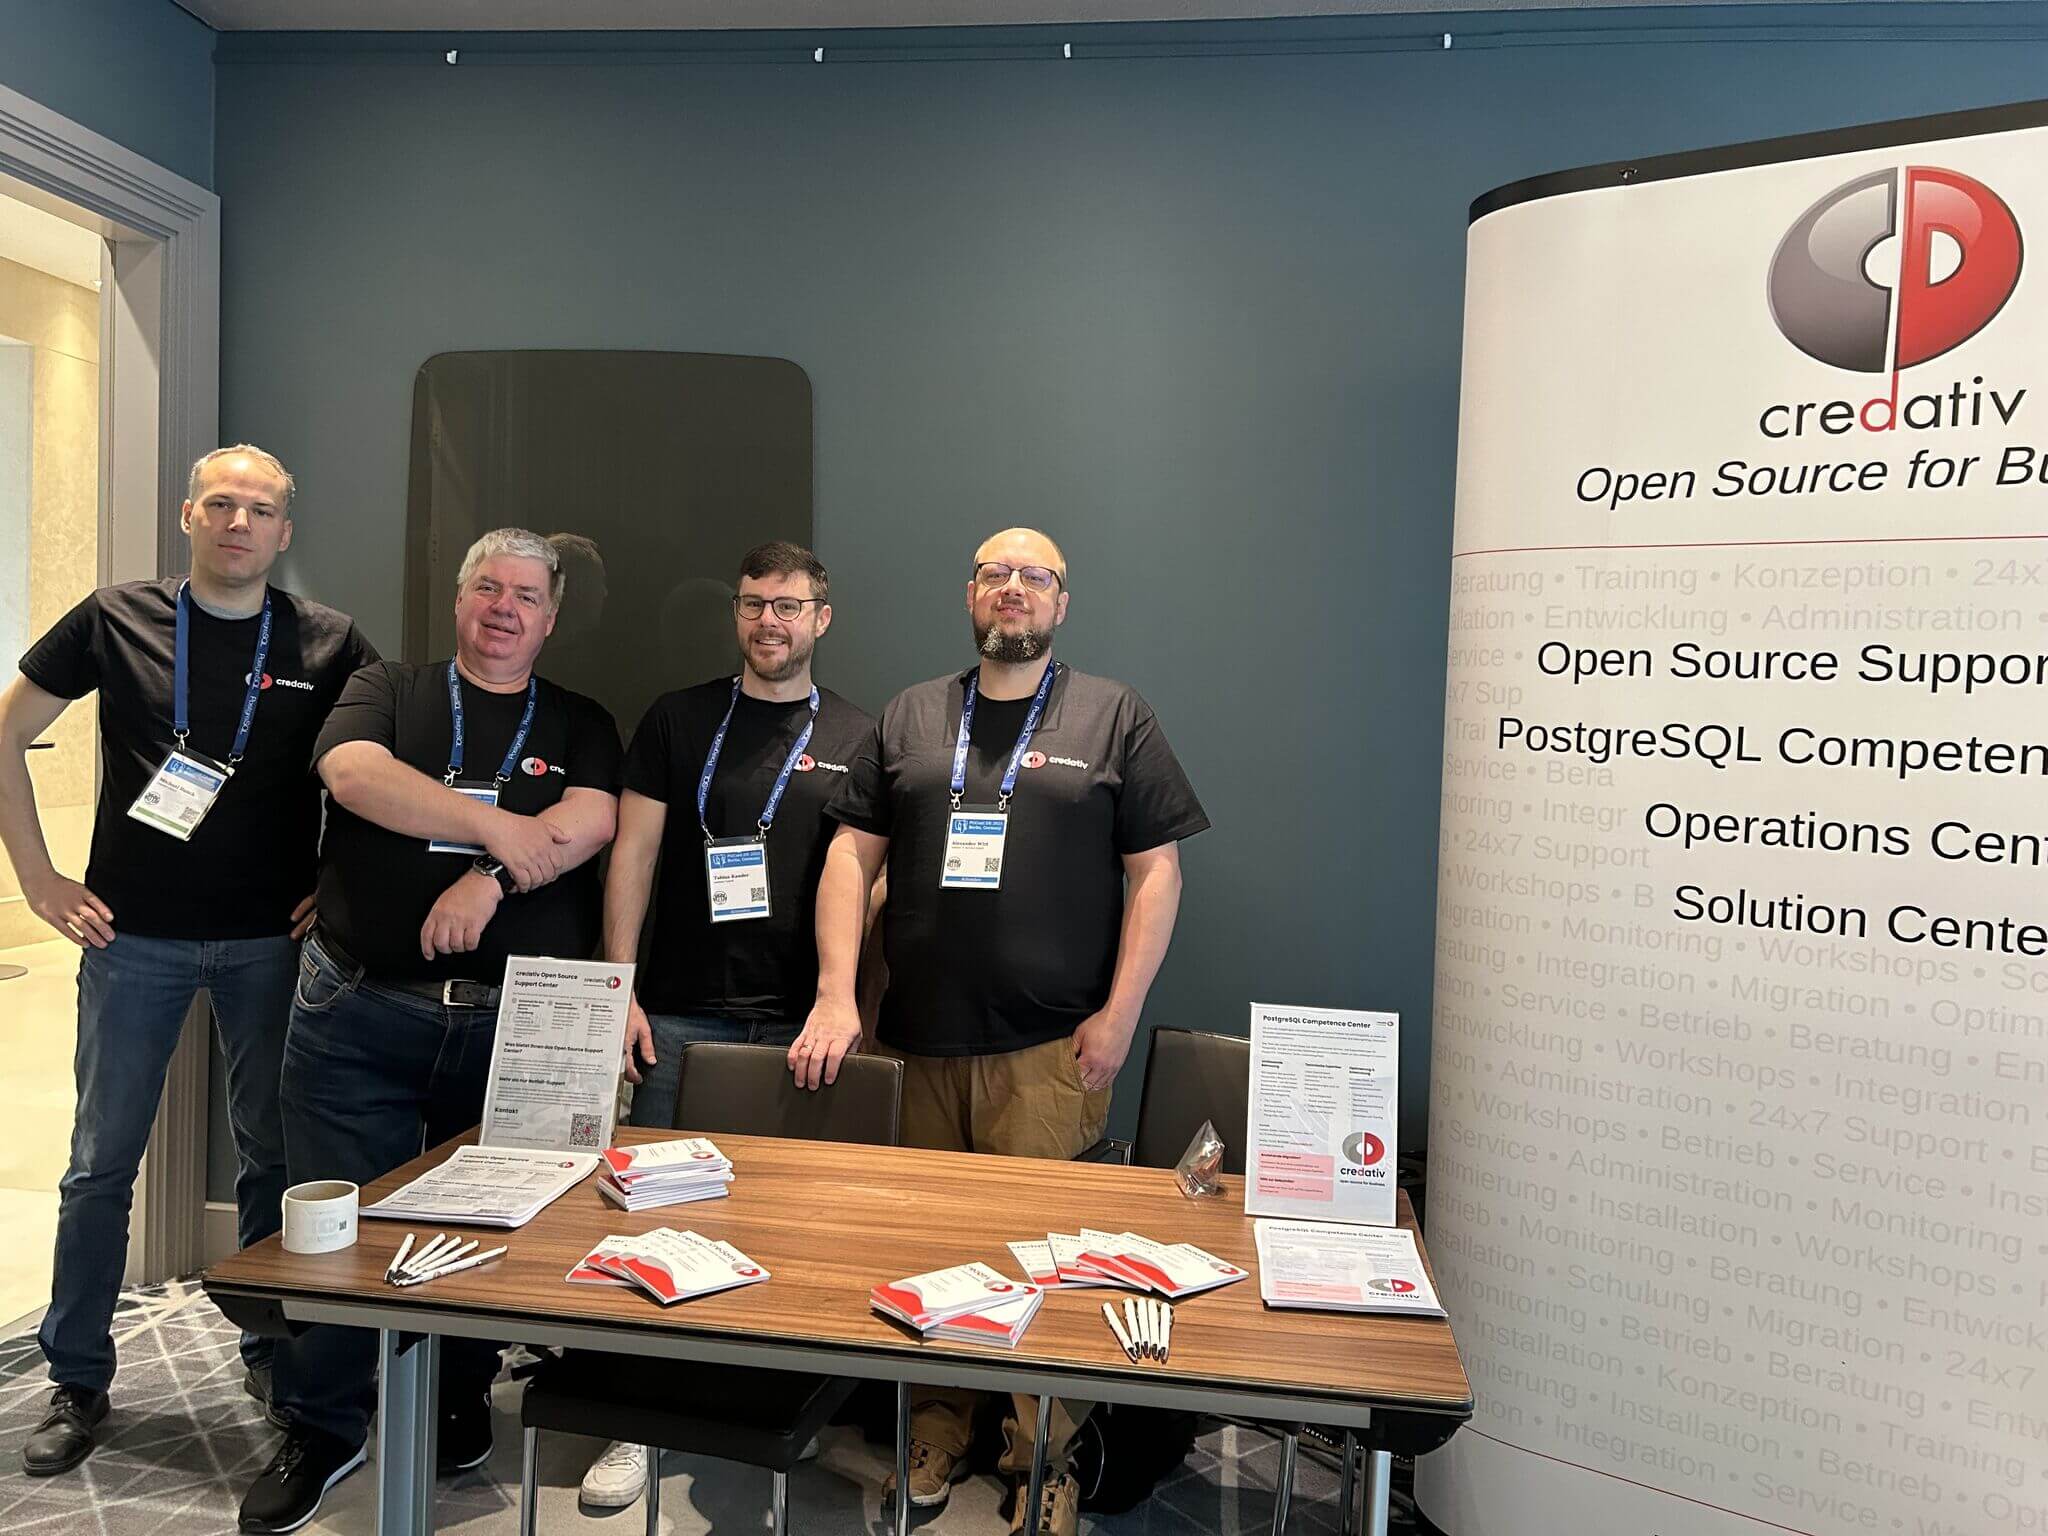
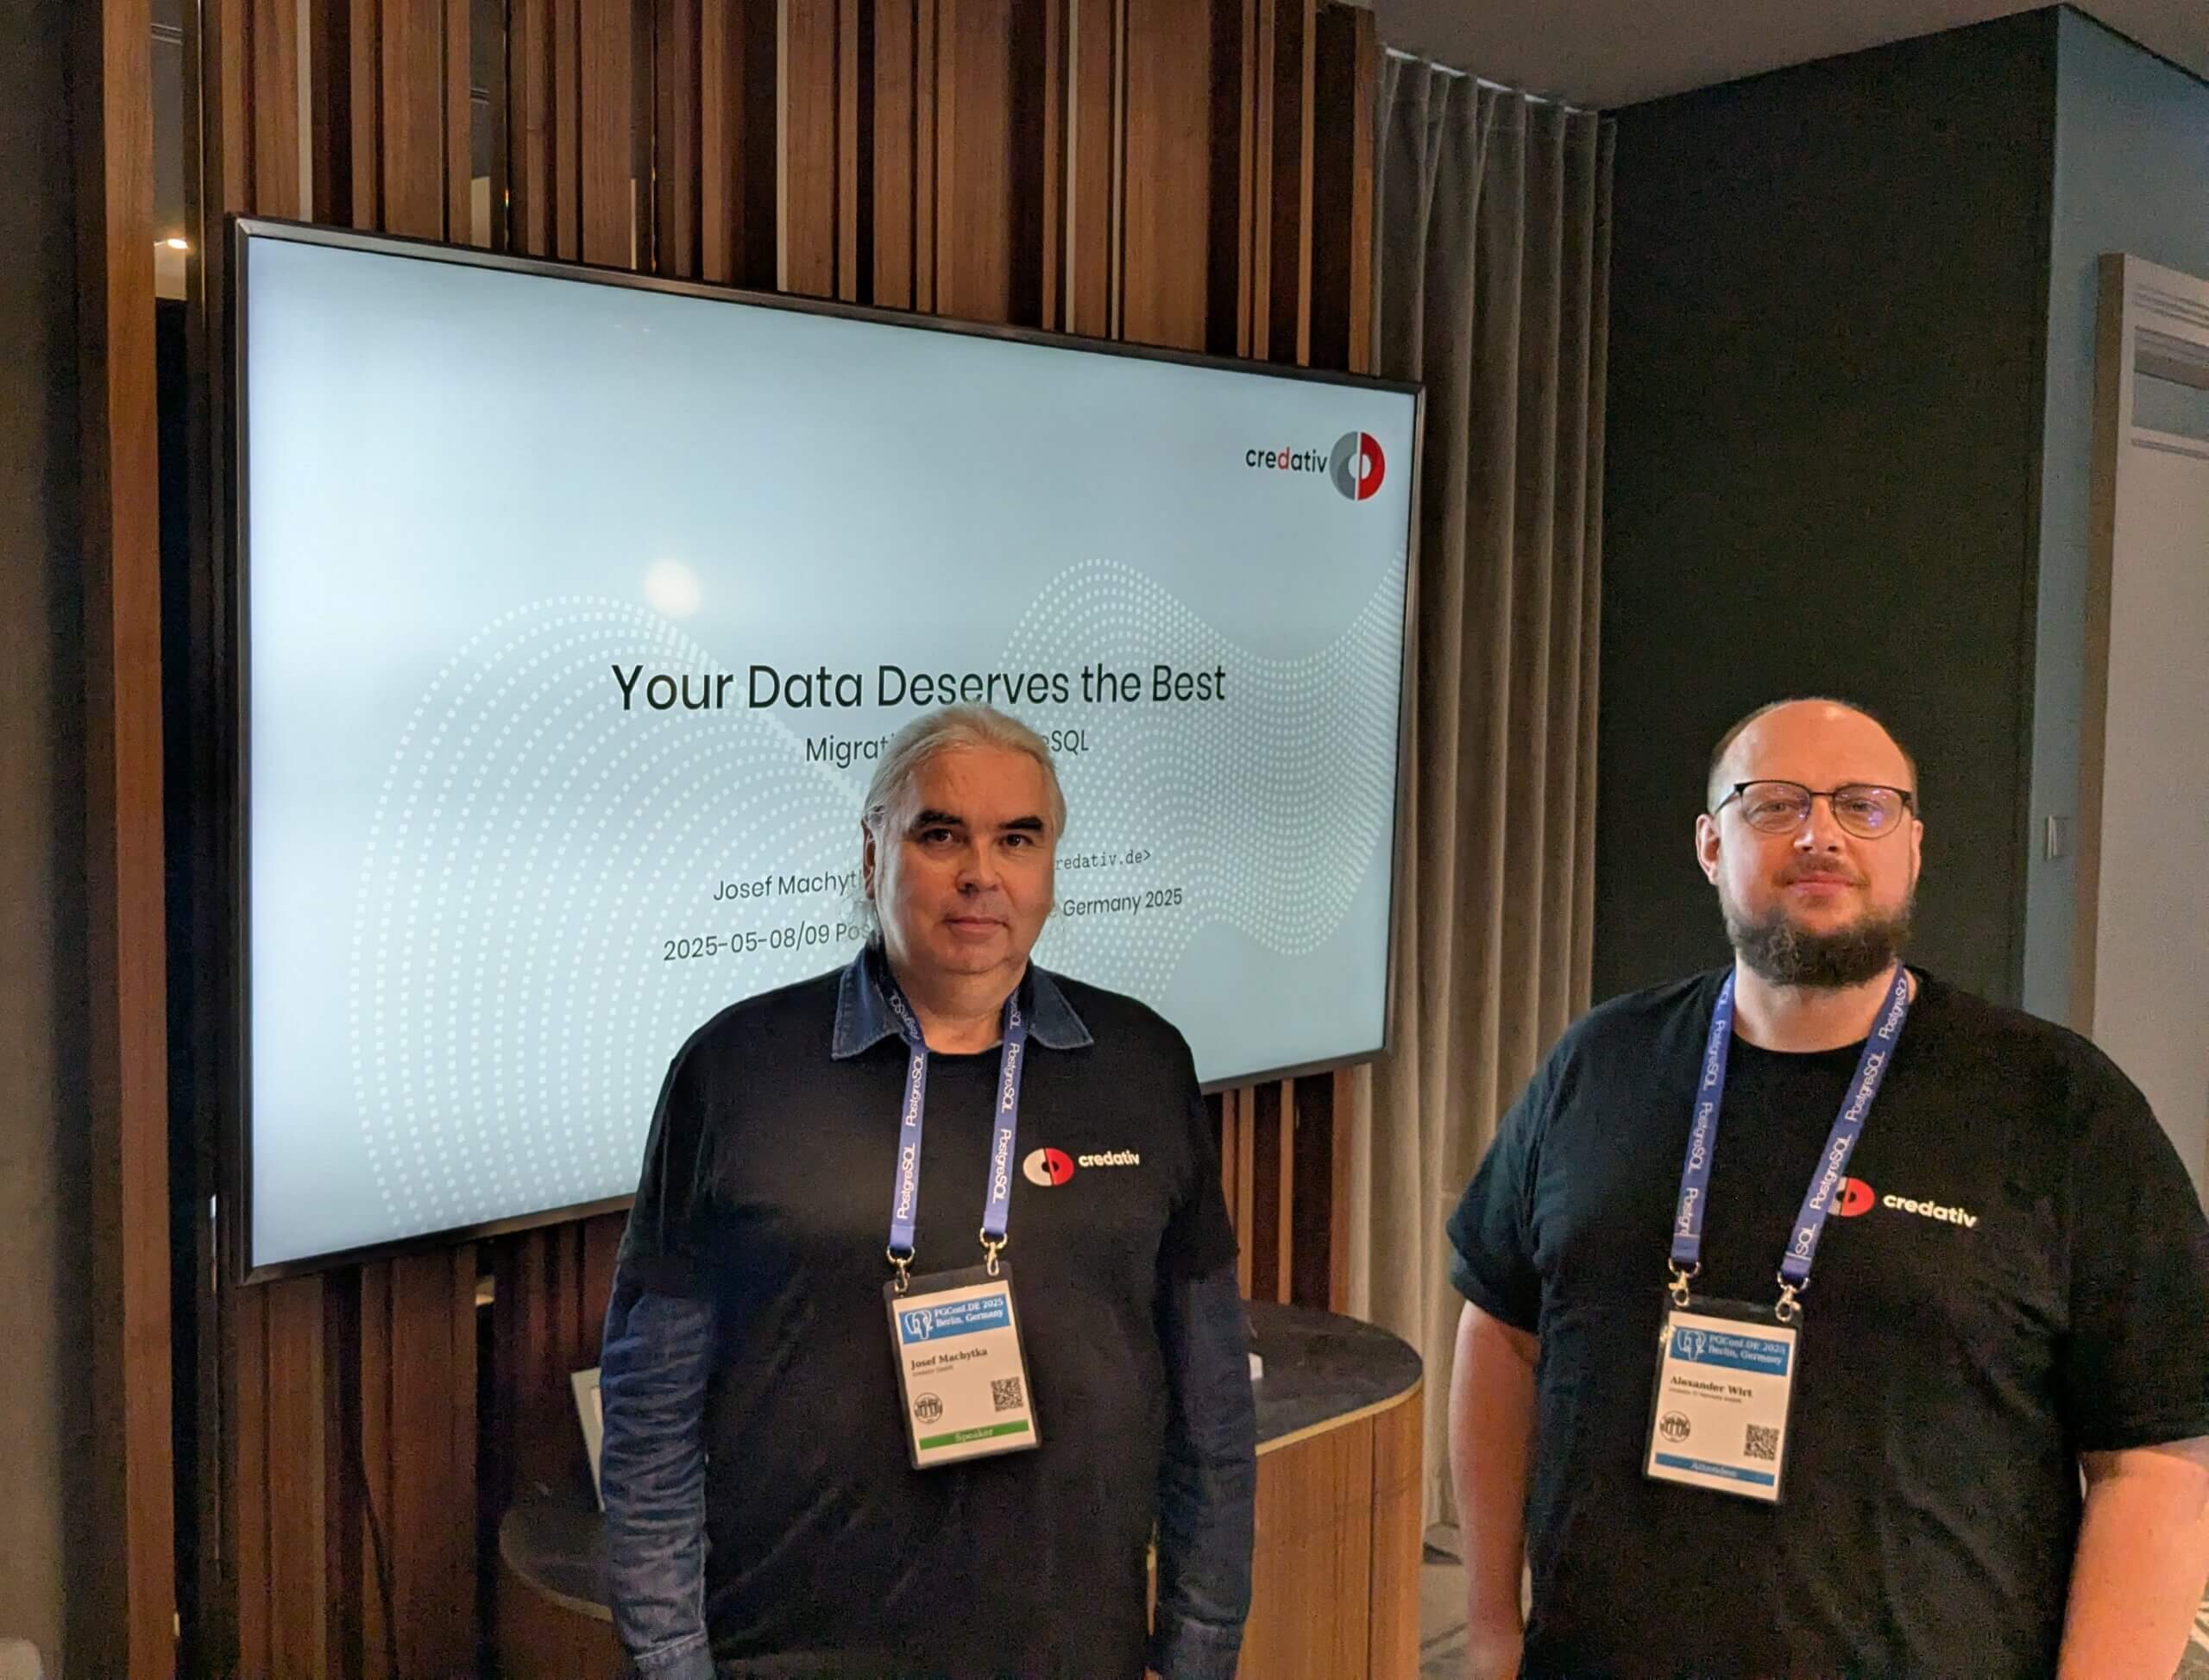
Our company, credativ GmbH, being independent again, participated as a gold sponsor. The credativ CTO Alexander Wirt, Head of Sales & Marketing Peter Dreuw and team leader of Database team Tobias Kauder, were available for attendees at the credativ booth. Many thanks to our team colleague Sascha Spettmann for delivering all the stands and billboards to the conference and back again.
In total, we held four talks at the conference. Michael Banck, technical leader of our database team, presented the German-language talk “PostgreSQL Performance Tuning.” He provided a deep and comprehensive overview of the most important performance-tuning parameters in PostgreSQL and explained how they influence the database’s behavior. His talk attracted a large audience and was very well received.
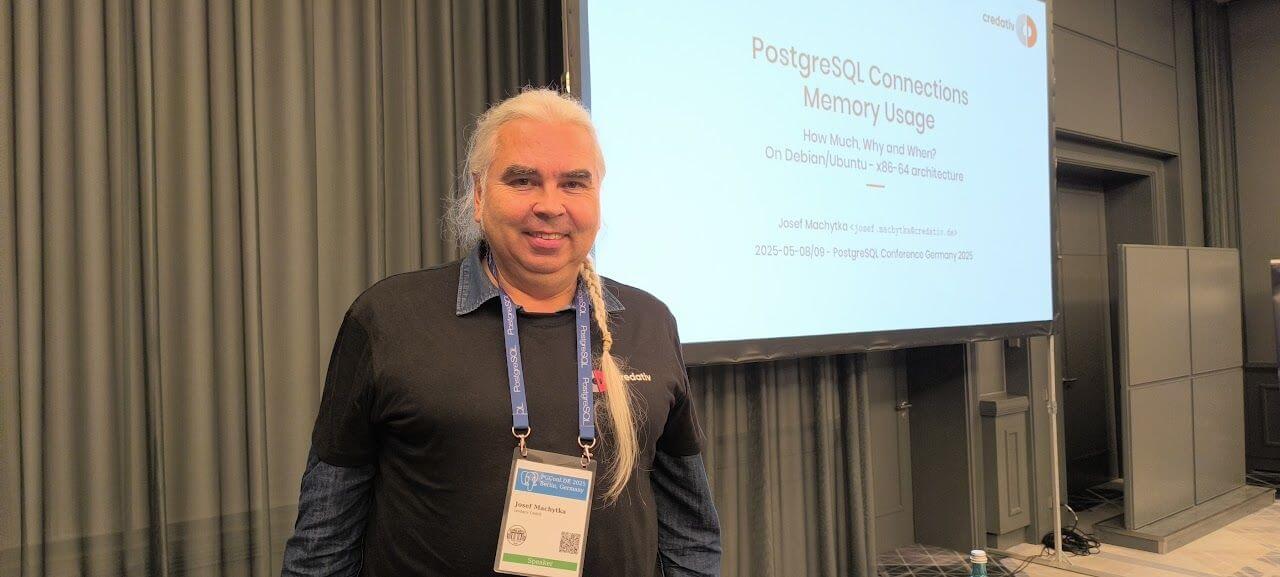
I had an absolutely unique opportunity to present three different talks in the English track. In my regular talk “PostgreSQL Connections Memory Usage: How Much, Why and When,” I presented the results of my research and tests on PostgreSQL connections’ memory usage. After explaining the most important aspects of Linux memory management and measurements of memory usage reported by standard commands, I detailed PostgreSQL connection memory usage during query execution based on numbers reported in smaps files. I intend to publish detailed blog posts about my findings soon. My other talk, “Building a Data Lakehouse with PostgreSQL,” was originally chosen as a reserve talk in case of a last-minute cancellation. Unfortunately, this indeed happened: the talk “Creating a Board Game Chatbot with Postgres, AI, and RAG” by Matt Cornillon had to be replaced. The speaker could not attend because his flight was unexpectedly canceled at very short notice.
In the sponsor track, credativ CTO Alexander Wirt and I presented a talk titled “Your Data Deserves the Best: Migration to PostgreSQL.” It featured our new migration tool, “credativ-pg-migrator.” It is capable of migrating data models (tables, data, indexes, constraints, and views) from Informix, IBM DB2 LUW, MS SQL Server, Sybase ASE, SQL Anywhere, and MySQL/MariaDB. In the case of Informix, it can also convert stored procedures, functions, and triggers into PostgreSQL PL/pgSQL. We will share more details about this tool in a separate blog post.
Since there were always three or four parallel talks, I had to carefully choose which sessions to attend. I greatly enjoyed the talk “András in Windowsland – a DBA’s (mis)adventures” by András Váczi from Cybertec. The speaker presented many useful tips for accessing and troubleshooting PostgreSQL on Windows. I also enjoyed the German talk “Modern VACUUM,” delivered by Christoph Berg from Cybertec. He provided valuable insights into the history and implementation details of the VACUUM command and autovacuum background processes. Another very interesting talk was the German presentation “Modernes SSL ideal einsetzen” by Peter Eisentraut from EDB. The talk covered selecting appropriate protocol versions and cryptographic cipher suites, managing keys and certificates, and configuring client/server settings to meet contemporary security standards. The talk “Comparing the Oracle and PostgreSQL transaction systems,” delivered by Laurenz Albe from Cybertec, received a lot of well-deserved attention. Key topics included Oracle’s undo/redo mechanism versus PostgreSQL’s MVCC approach, differences in isolation level defaults and anomalies, and how each database implements constraints and transactional DDL. Last but not least, I want to mention the talk “What is an SLRU anyway?” delivered by major PostgreSQL contributor Álvaro Herrera. He explained that SLRUs are essentially circular logs with an in-memory cache used for tracking information such as committed transactions or snapshot data and he highlighted the significance of PostgreSQL 17’s innovations which made SLRU cache sizes configurable. Unfortunately, the talks were not recorded, but slides for the majority of the talks are already available on the conference website.
The whole event was highly informative and provided excellent networking opportunities. We are very much looking forward to participating in the next PGConf.DE. In the meantime, stay tuned to all credativ news, follow us on social media – LinkedIn and Mastodon.
If you are interested in our PostgreSQL related services, click here!
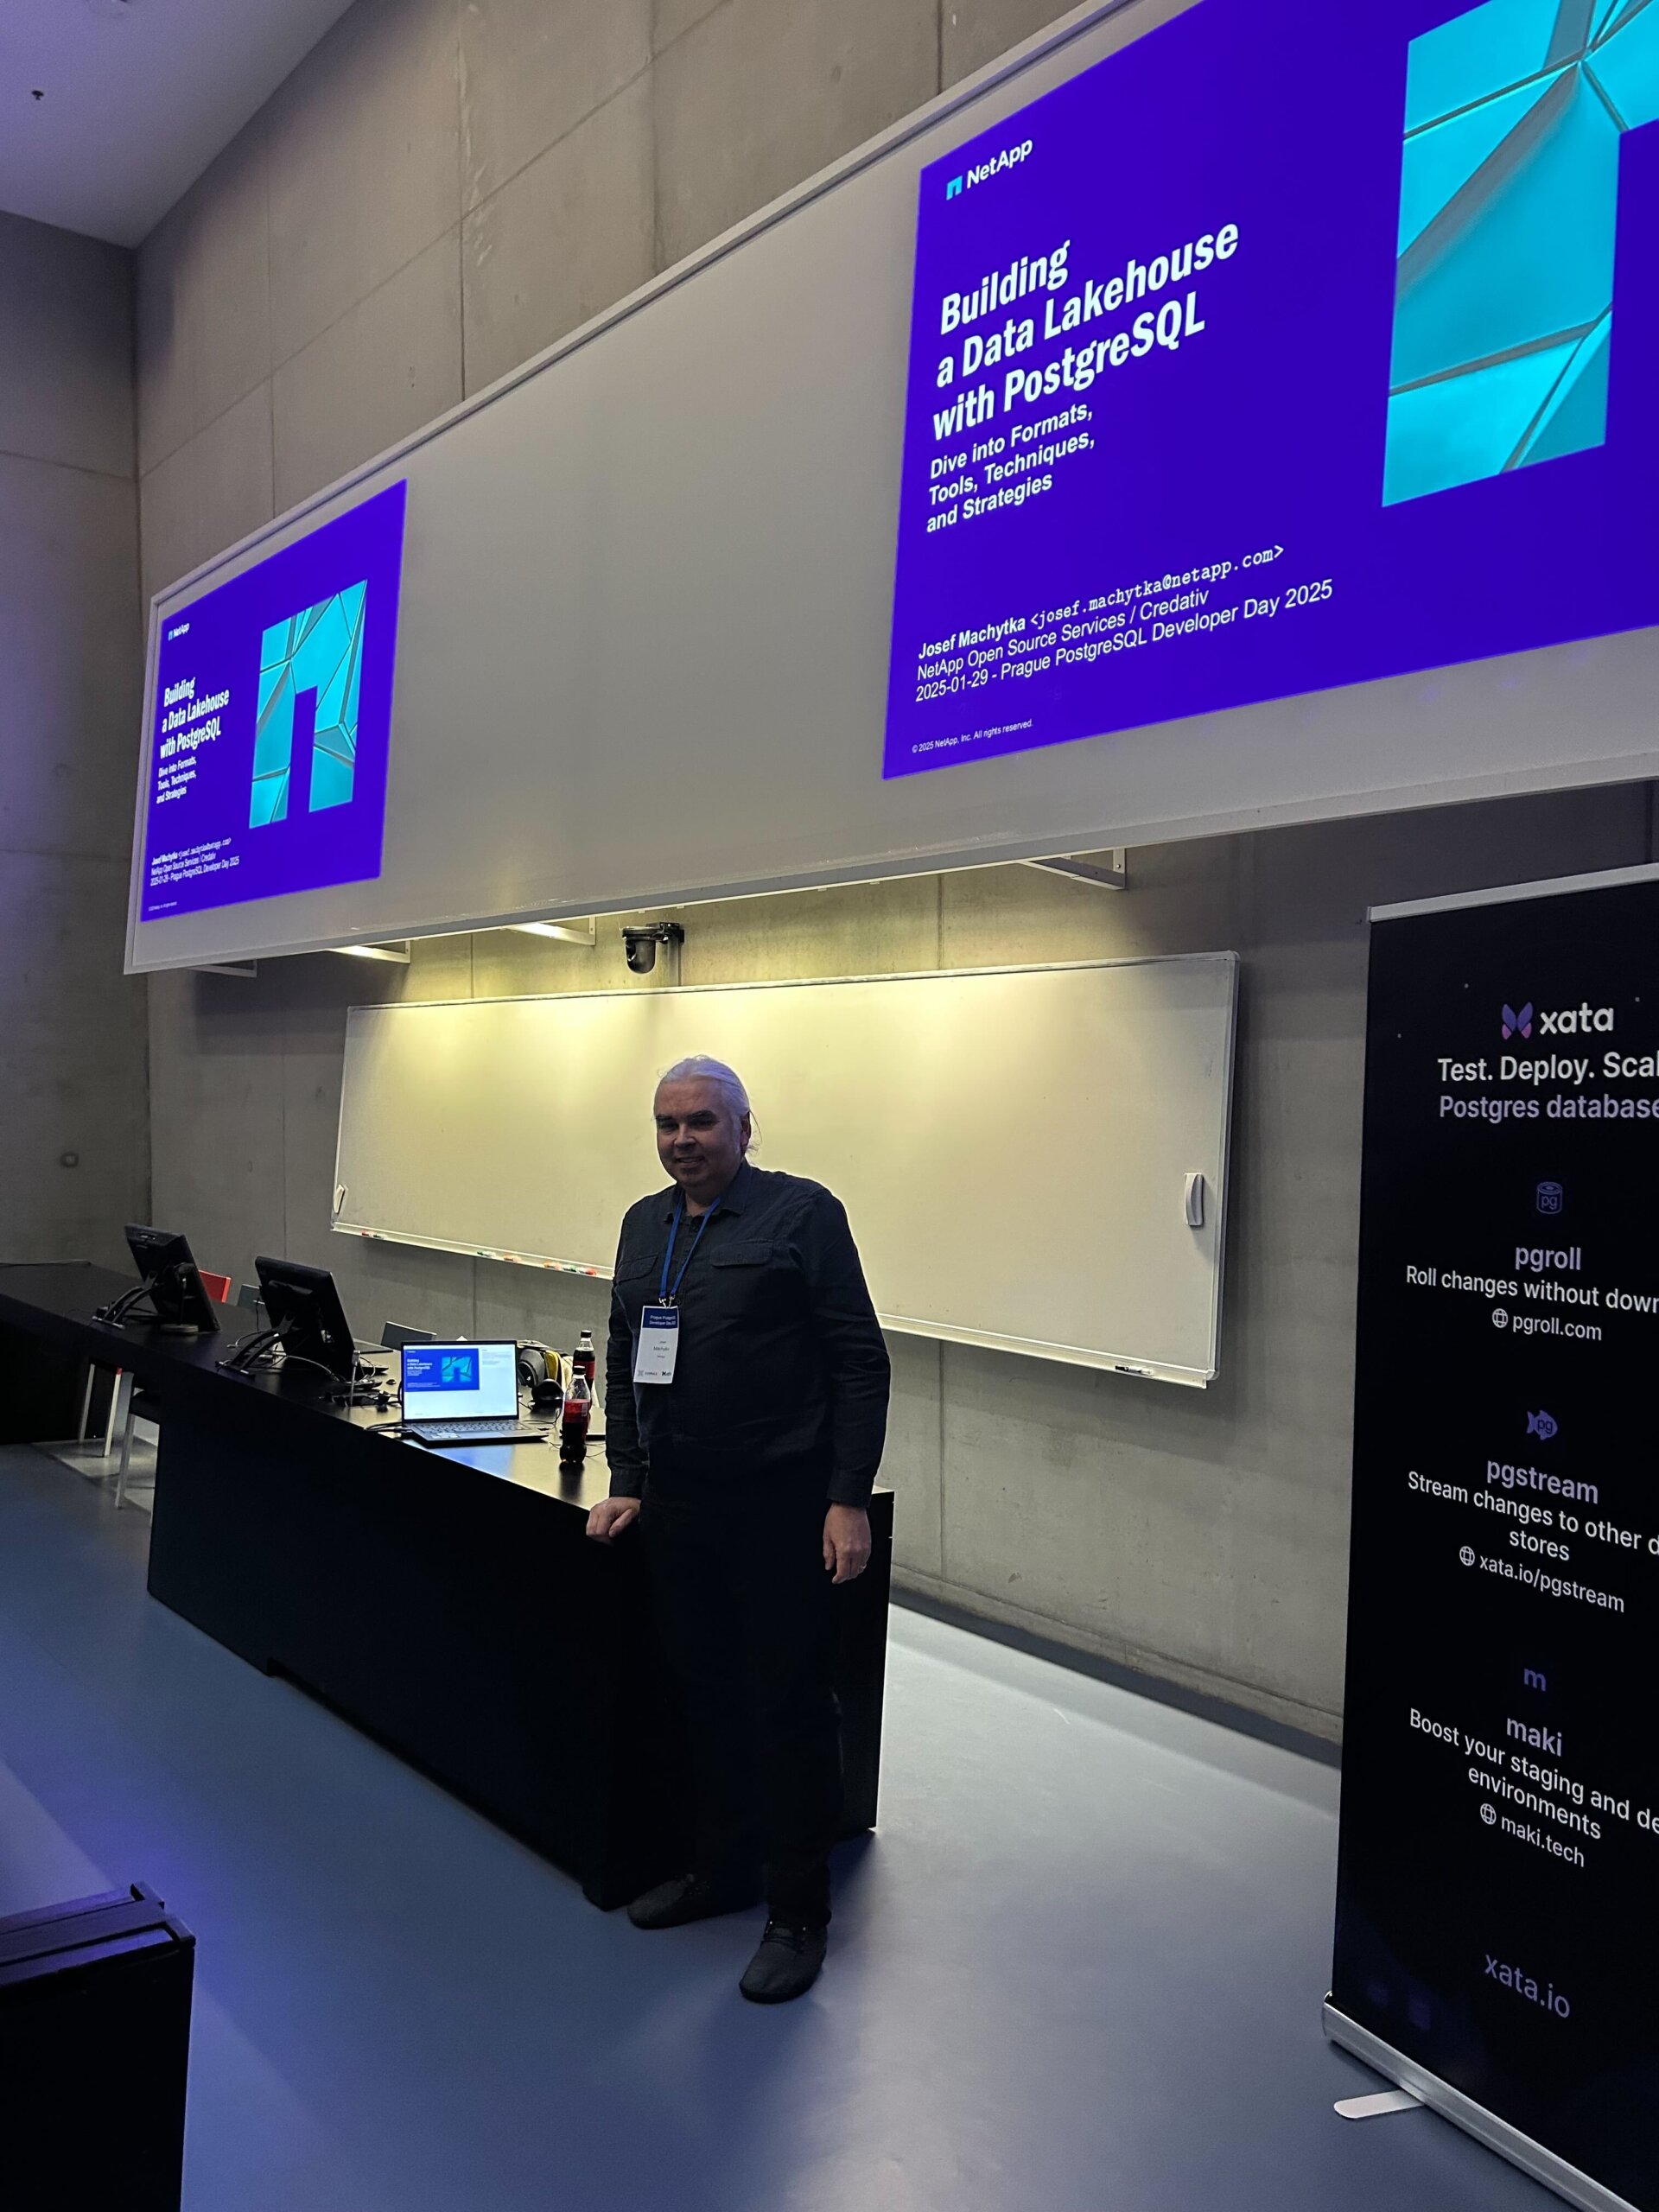
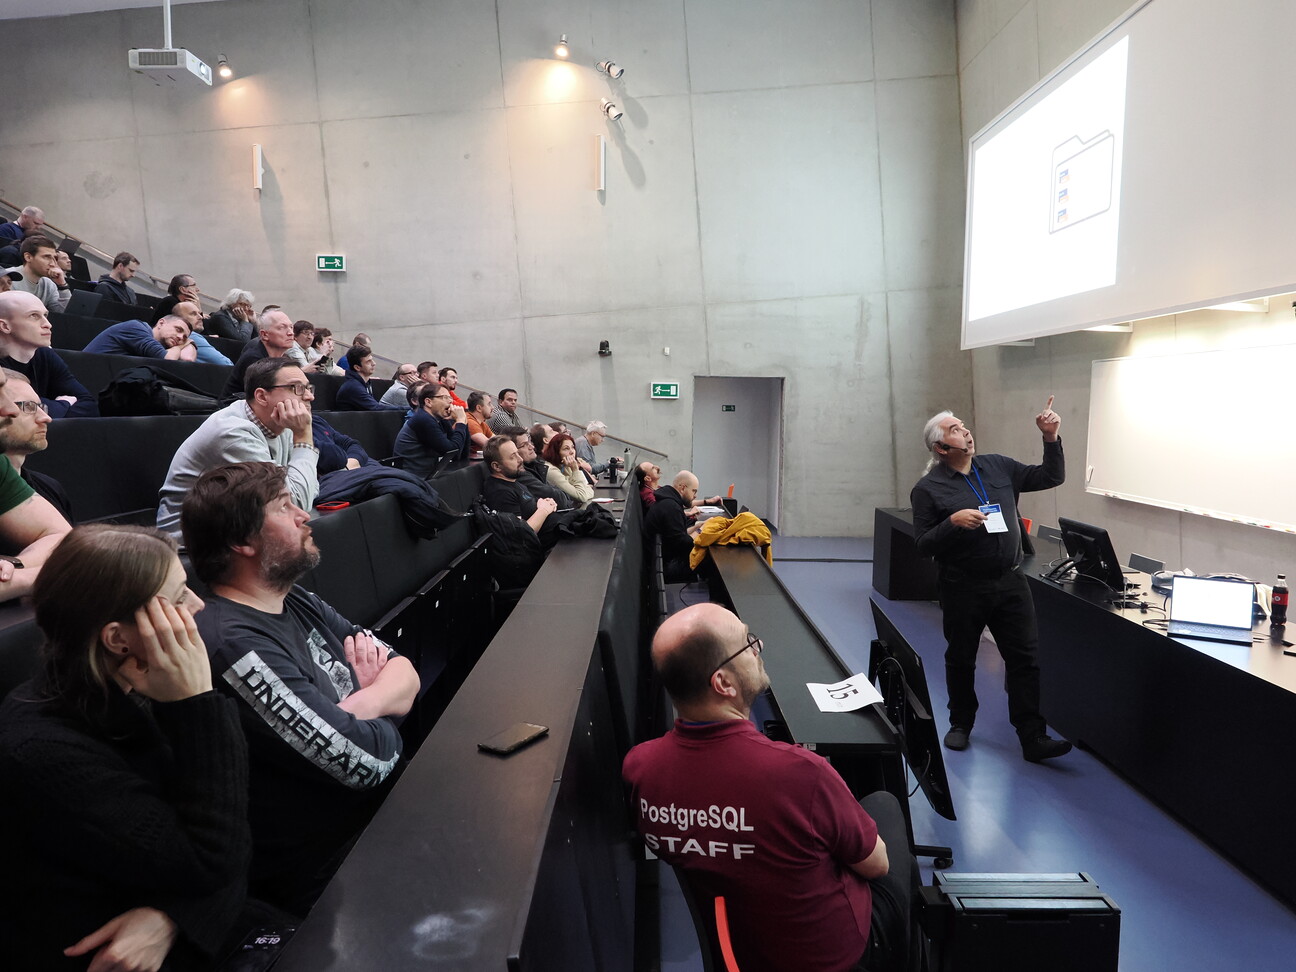
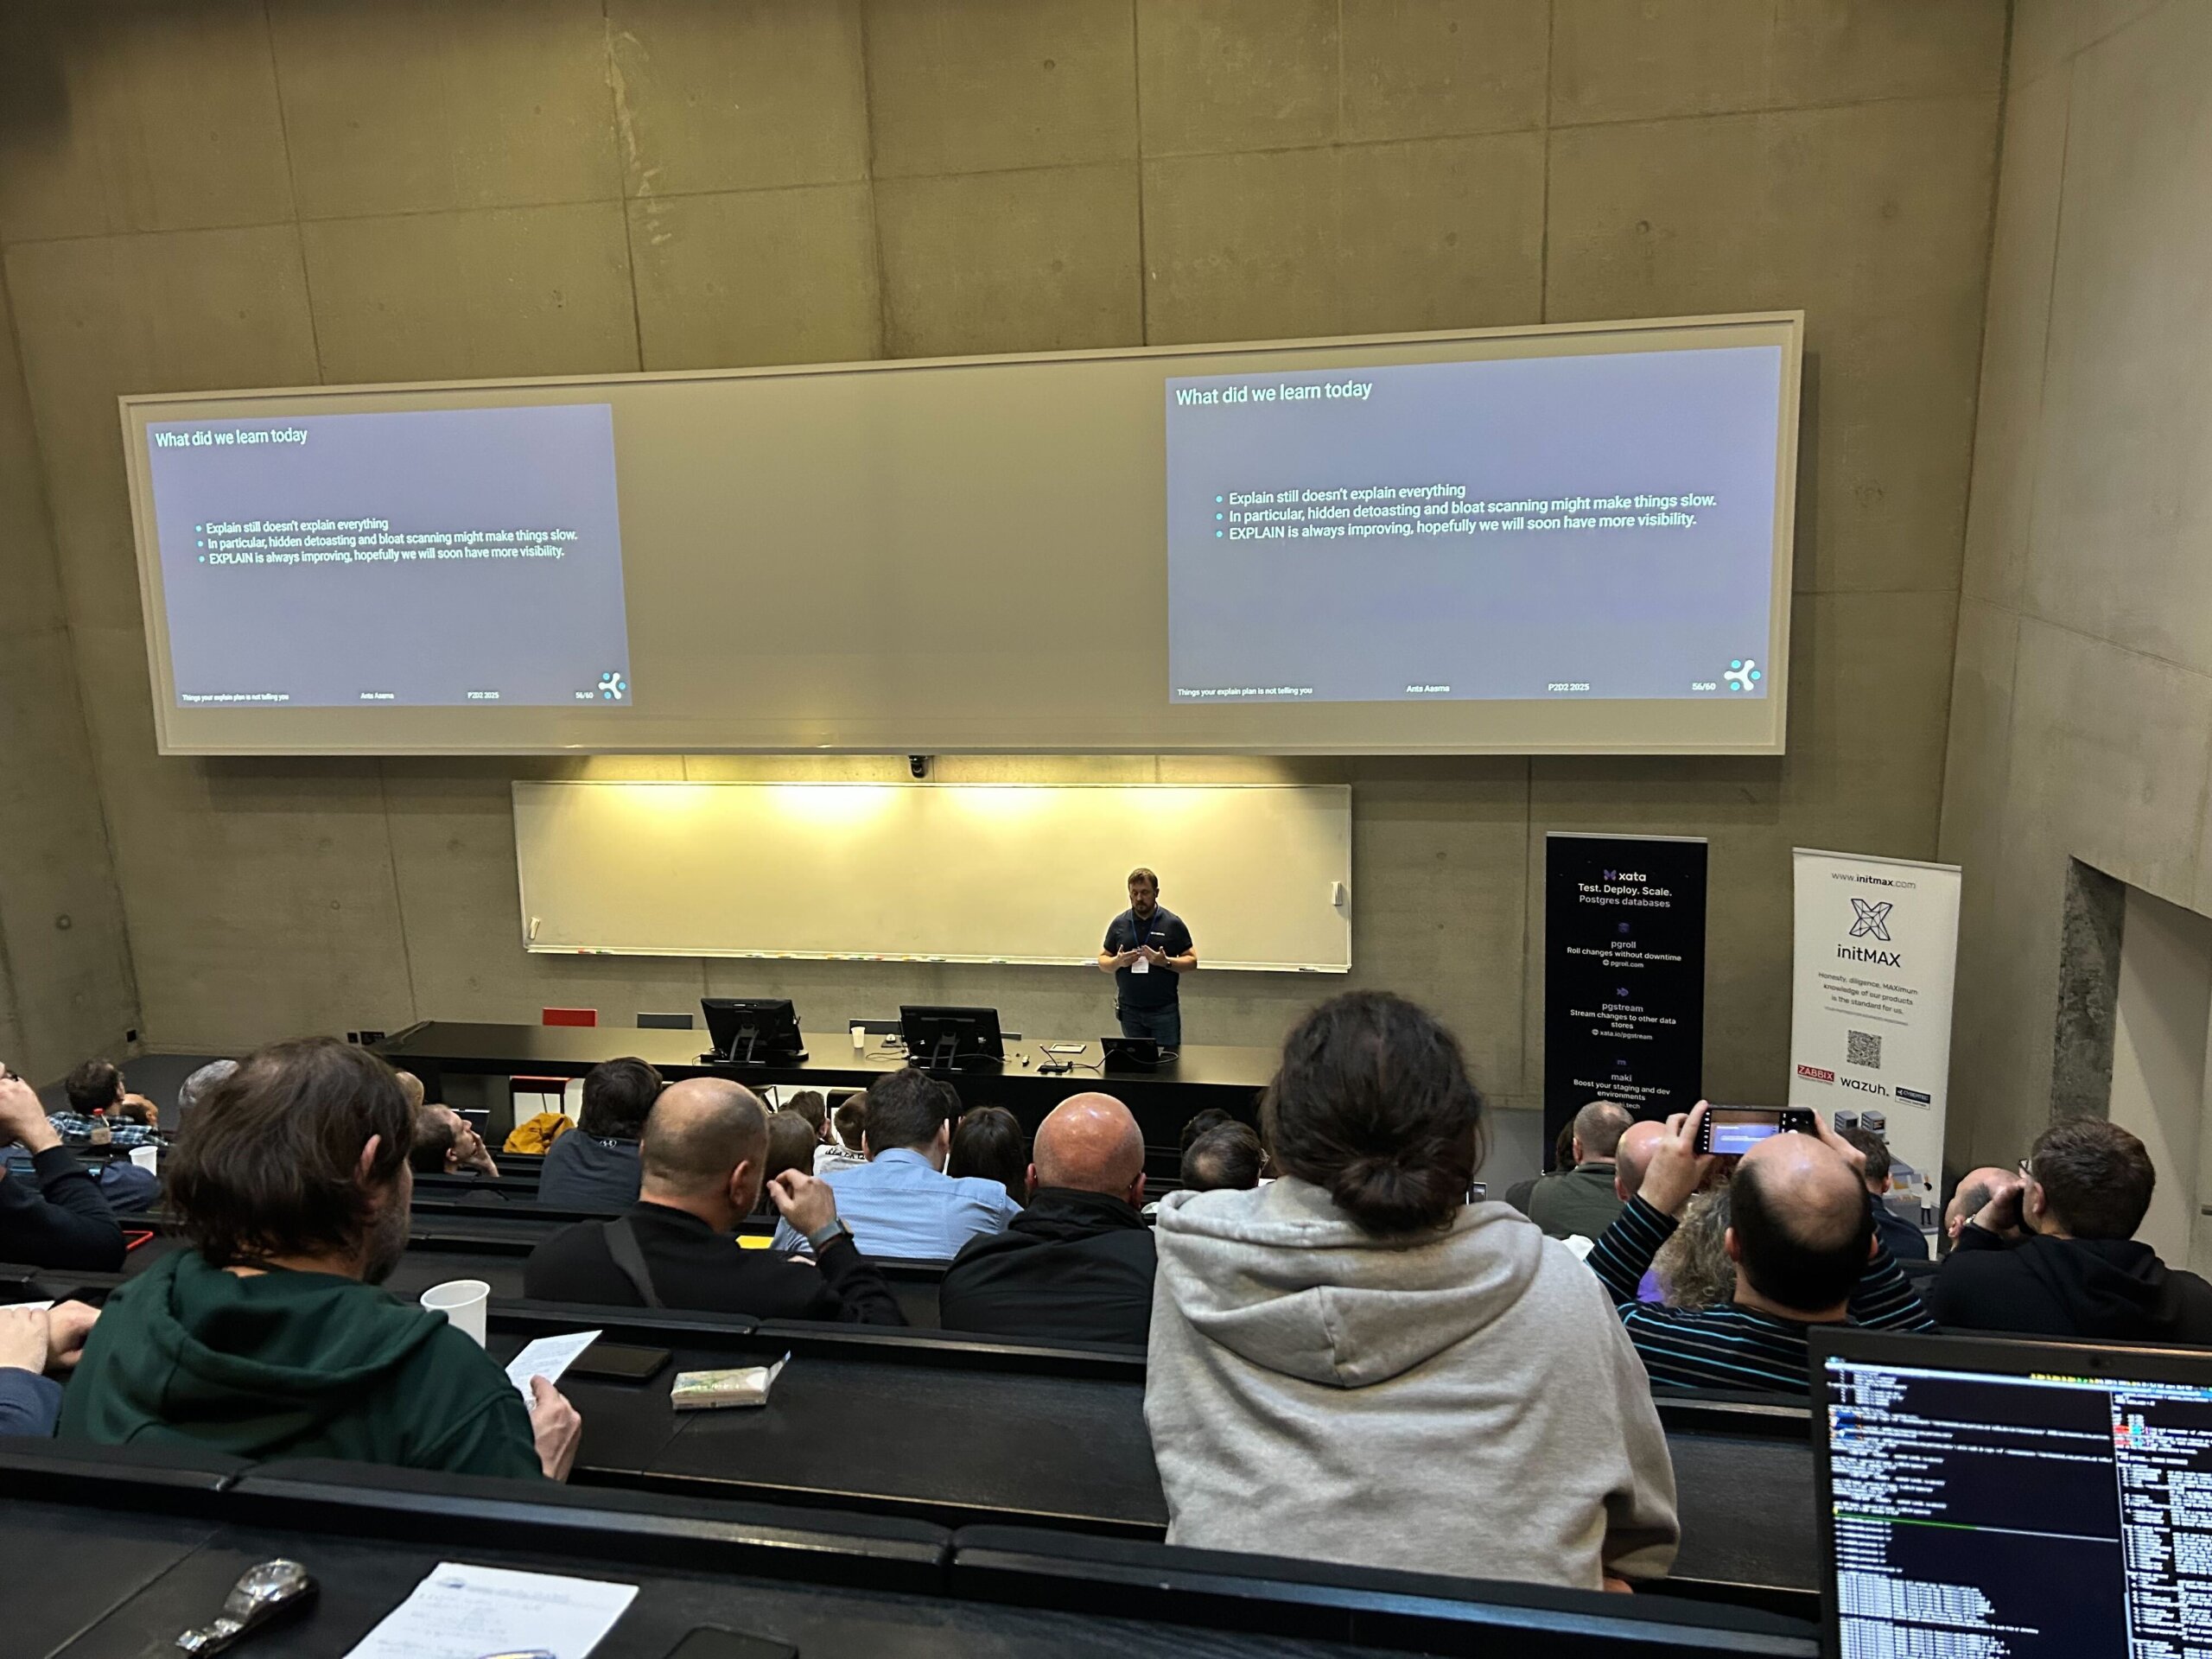
The Prague PostgreSQL Developer Day (P2D2) is a well-established Czech PostgreSQL conference. This year’s 17th edition was exceptional, with 275 registered visitors and 16 talks across two tracks. Notably, several major PostgreSQL contributors and core members were present, underlining the event’s significance. Tomas Vondra, as in previous years, organized the conference. Bruce Momjian, Vice President and Postgres Evangelist at EDB, led a half-day workshop titled “Postgres & AI: From the Trenches to the Sky.” Robert Haas delivered a really interesting talk on Incremental Backup in PostgreSQL 17, a feature he developed.
I had the fantastic opportunity to contribute to this conference with my new talk, “Building a Data Lakehouse with PostgreSQL: Dive into Formats, Tools, Techniques, and Strategies.” Given the still evolving nature of this topic and the varying definitions of data lakehouses, I covered the most important areas, highlighting the functionalities and extensions PostgreSQL offers. I received very positive feedback on my talk and had several insightful discussions about the topic with different people.
Among the talks I attended, I particularly enjoyed Robert Haas’s presentation on Incremental Backups, the practical demonstration of PostgreSQL statistics in the talk “Statistics: How PostgreSQL Counts Without Counting” by Sadeq Dousti, and the very interesting presentation “Anatomy of Table-Level Locks in PostgreSQL” by Gülçin Yıldırım Jelínek. She explained in detail the hierarchy of different locking levels and the events leading to delays in operations due to locks. Other notable talks included “Replicating Schema Changes with PostgreSQL” by Esther Miñano and “When Autovacuum Met FinOps: A Cloud Romance” by Mayuresh Bagayatkar. You can find summaries of all talks and soon also the slides on the P2D2 website. I want to express my gratitude to all the organizers of this amazing event, especially Tomas Vondra and Gülçin Yıldırım Jelínek, who both do a great job in organizing PostgreSQL events not only in the Czech Republic.


(c) Tomas Vondra EDB & organizers of P2D2 conference
The issue of table and index bloat due to failed inserts on unique constraints is well known and has been discussed in various articles across the internet. However, these discussions sometimes lack a clear, practical example with measurements to illustrate the impact. And despite the familiarity of this issue, we still frequently see this design pattern—or rather, anti-pattern—in real-world applications. Developers often rely on unique constraints to prevent duplicate values from being inserted into tables. While this approach is straightforward, versatile, and generally considered effective, in PostgreSQL, inserts that fail due to unique constraint violations unfortunately always lead to table and index bloat. And on high-traffic systems, this unnecessary bloat can significantly increase disk I/O and the frequency of autovacuum runs. In this article, we aim to highlight this problem once again and provide a straightforward example with measurements to illustrate it. We suggest simple improvement that can help mitigate this issue and reduce autovacuum workload and disk I/O.
Two Approaches to Duplicate Prevention
In PostgreSQL, there are two main ways to prevent duplicate values using unique constraints:
1. Standard Insert Command (INSERT INTO table)
The usual INSERT INTO table command attempts to insert data directly into the table. If the insert would result in a duplicate value, it fails with a “duplicate key value violates unique constraint” error. Since the command does not specify any duplicate checks, PostgreSQL internally immediately inserts the new row and only then begins updating indexes. When it encounters a unique index violation, it triggers the error and deletes the newly added row. The order of index updates is determined by their relation IDs, so the extent of index bloat depends on the order in which indexes were created. With repeated “unique constraint violation” errors, both the table and some indexes accumulate deleted records leading to bloat, and the resulting write operations increase disk I/O without achieving any useful outcome.
2. Conflict-Aware Insert (INSERT INTO table … ON CONFLICT DO NOTHING)
The INSERT INTO table ON CONFLICT DO NOTHING command behaves differently. Since it specifies that a conflict might occur, PostgreSQL first checks for potential duplicates before attempting to insert data. If a duplicate is found, PostgreSQL performs the specified action—in this case, “DO NOTHING”—and no error occurs. This clause was introduced in PostgreSQL 9.5, but some applications either still run on older PostgreSQL versions or retain legacy code when the database is upgraded. As a result, this conflict-handling option is often underutilized.
Testing Example
To be able to do testing we must start PostgreSQL with “autovacuum=off”. Otherwise with instance mostly idle, autovacuum will immediately process bloated objects and it would be unable to catch statistics. We create a simple testing example with multiple indexes:
CREATE TABLE IF NOT EXISTS test_unique_constraints(
  id serial primary key,
  unique_text_key text,
  unique_integer_key integer,
  some_other_bigint_column bigint,
  some_other_text_column text);

CREATE INDEX test_unique_constraints_some_other_bigint_column_idx ON test_unique_constraints (some_other_bigint_column );
CREATE INDEX test_unique_constraints_some_other_text_column_idx ON test_unique_constraints (some_other_text_column );
CREATE INDEX test_unique_constraints_unique_text_key_unique_integer_key__idx ON test_unique_constraints (unique_text_key, unique_integer_key, some_other_bigint_column );
CREATE UNIQUE test_unique_constraints_unique_integer_key_idx INDEX ON test_unique_constraints (unique_text_key );
CREATE UNIQUE test_unique_constraints_unique_text_key_idx INDEX ON test_unique_constraints (unique_integer_key );
And now we populate this table with unique data:
DO $$
BEGIN
  FOR i IN 1..1000 LOOP
    INSERT INTO test_unique_constraints
    (unique_text_key, unique_integer_key, some_other_bigint_column, some_other_text_column)
    VALUES (i::text, i, i, i::text);
  END LOOP;
END;
$$;
In the second step, we use a simple Python script to connect to the database, attempt to insert conflicting data, and close the session after an error. First, it sends 10,000 INSERT statements that conflict with the “test_unique_constraints_unique_int_key_idx” index, then another 10,000 INSERTs conflicting with “test_unique_constraints_unique_text_key_idx”. The entire test is done in a few dozen seconds, after which we inspect all objects using the “pgstattuple” extension. The following query lists all objects in a single output:
WITH maintable AS (SELECT oid, relname FROM pg_class WHERE relname = 'test_unique_constraints')
SELECT m.oid as relid, m.relname as relation, s.*
FROM maintable m
JOIN LATERAL (SELECT * FROM pgstattuple(m.oid)) s ON true
UNION ALL
SELECT i.indexrelid as relid, indexrelid::regclass::text as relation, s.*
FROM pg_index i
JOIN LATERAL (SELECT * FROM pgstattuple(i.indexrelid)) s ON true
WHERE i.indrelid::regclass::text = 'test_unique_constraints'
ORDER BY relid;
Observed Results
After running the whole test several times, we observe the following:
- The main table “test_unique_constraints” always has 1,000 live tuples, and 20,000 additional dead records, resulting in approx 85% of dead tuples in the table
- Index on primary key always shows 21,000 tuples, unaware that 20,000 of these records are marked as deleted in the main table.
- Other non unique indexes show different results in different runs, ranging between 3,000 and 21,000 records. Numbers depend on the distribution of values generated for underlying columns by the script. We tested both repeated and completely unique values. Repeated values resulted in less records in indexes, completely unique values led to full count of 21,000 records in these indexes.
- Unique indexes showed repeatedly tuple counts only between 1,000 and 1,400 in all tests. Unique index on the “unique_text_key” always shows some dead tuples in the output. Precise explanation of these numbers would require deeper inspection of these relations and code of the pgstattuple function, which is beyond scope of this article. But some small bloat is reported also here.
- Numbers reported by pgstattuple function raised questions about their accuracy, although documentation seems to lead to the conclusion that numbers should be precise on tuple level.
- Subsequent manual vacuum confirms 20,000 dead records in the main table and 54 pages removed from primary key index, and up to several dozens of pages removed from other indexes – different numbers in each run in dependency on total count of tuples in these relations as described above.
- Each failed insert also increments the Transaction ID and thus increases the database’s transaction age.
Here is one example output from the query shown above after the test run which used unique values for all columns. As we can see, bloat of non unique indexes due to failed inserts can be big.
 relid |                       relation                                  | table_len | tuple_count | tuple_len | tuple_percent | dead_tuple_count | dead_tuple_len | dead_tuple_percent | free_space | free_percent
-------+-----------------------------------------------------------------+-----------+-------------+-----------+---------------+------------------+----------------+--------------------+------------+--------------
 16418 | test_unique_constraints                                         |   1269760 |        1000 |     51893 |          4.09 |            20000 |        1080000 |              85.06 |       5420 |         0.43
 16424 | test_unique_constraints_pkey                                    |    491520 |       21000 |    336000 |         68.36 |                0 |              0 |                  0 |      51444 |        10.47
 16426 | test_unique_constraints_some_other_bigint_column_idx            |    581632 |       16396 |    326536 |         56.14 |                0 |              0 |                  0 |     168732 |        29.01
 16427 | test_unique_constraints_some_other_text_column_idx              |    516096 |       16815 |    327176 |         63.39 |                0 |              0 |                  0 |     101392 |        19.65
 16428 | test_unique_constraints_unique_text_key_unique_integer_key__idx |   1015808 |       21000 |    584088 |          57.5 |                0 |              0 |                  0 |     323548 |        31.85
 16429 | test_unique_constraints_unique_text_key_idx                     |     57344 |        1263 |     20208 |         35.24 |                2 |             32 |               0.06 |      15360 |        26.79
 16430 | test_unique_constraints_unique_integer_key_idx                  |     40960 |        1000 |     16000 |         39.06 |                0 |              0 |                  0 |       4404 |        10.75
(7 rows)
In a second test, we modify the script to include the ON CONFLICT DO NOTHING clause in the INSERT command and repeat both tests. This time, inserts do not result in errors; instead, they simply return “INSERT 0 0”, indicating that no records were inserted. Inspection of the Transaction ID after this test shows only a minimal increase, caused by background processes. Attempts to insert conflicting data did not result in increase of Transaction ID (XID), as PostgreSQL started first only virtual transaction to check for conflicts, and because a conflict was found, it aborted the transaction without having assigned a new XID. The “pgstattuple” output confirms that all objects contain only live data, with no dead tuples this time.
Summary
As demonstrated, each failed insert bloats the underlying table and some indexes, and increases the Transaction ID because each failed insert occurs in a separate transaction. Consequently, autovacuum is forced to run more frequently, consuming valuable system resources. Therefore applications still relying solely on plain INSERT commands without ON CONFLICT conditions should consider reviewing this implementation. But as always, the final decision should be based on the specific conditions of each application.
TOAST (The Oversized Attribute Storage Technique) is PostgreSQL‘s mechanism for handling large data objects that exceed the 8KB data page limit. Introduced in PostgreSQL 7.1, TOAST is an improved version of the out-of-line storage mechanism used in Oracle databases for handling large objects (LOBs). Both databases store variable-length data either inline within the table or in a separate structure. PostgreSQL limits the maximum size of a single tuple to one data page. When the size of the tuple, including compressed data in a variable-length column, exceeds a certain threshold, the compressed part is moved to a separate data file and automatically chunked to optimize performance.
 TOAST can be used for storing long texts, binary data in bytea columns, JSONB data, HSTORE long key-value pairs, large arrays, big XML documents, or custom-defined composite data types. Its behavior is influenced by two parameters: TOAST_TUPLE_THRESHOLD and TOAST_TUPLE_TARGET. The first is a hardcoded parameter defined in PostgreSQL source code in the heaptoast.h file, based on the MaximumBytesPerTuple function, which is calculated for four toast tuples per page, resulting in a 2000-byte limit. This hardcoded threshold prevents users from storing values that are too small in out-of-line storage, which would degrade performance. The second parameter, TOAST_TUPLE_TARGET, is a table-level storage parameter initialized to the same value as TOAST_TUPLE_THRESHOLD, but it can be adjusted for individual tables. It defines the minimum tuple length required before trying to compress and move long column values into TOAST tables.
In the source file heaptoast.h, a comment explains: “If a tuple is larger than TOAST_TUPLE_THRESHOLD, we will try to toast it down to no more than TOAST_TUPLE_TARGET bytes through compressing compressible fields and moving EXTENDED and EXTERNAL data out-of-line. The numbers need not be the same, though they currently are. It doesn’t make sense for TARGET to exceed THRESHOLD, but it could be useful to make it be smaller.” This means that in real tables, data stored directly in the tuple may or may not be compressed, depending on its size after compression. To check if columns are compressed and which algorithm is used, we can use the PostgreSQL system function pg_column_compression. Additionally, the pg_column_size function helps check the size of individual columns. PostgreSQL 17 introduces a new function, pg_column_toast_chunk_id, which indicates whether a column’s value is stored in the TOAST table.
In the latest PostgreSQL versions, two compression algorithms are used: PGLZ (PostgreSQL LZ) and LZ4. Both are variants of the LZ77 algorithm, but they are designed for different use cases. PGLZ is suitable for mixed text and numeric data, such as XML or JSON in text form, providing a balance between compression speed and ratio. It uses a sliding window mechanism to detect repeated sequences in the data, offering a reasonable balance between compression speed and compression ratio. LZ4, on the other hand, is a fast compression method designed for real-time scenarios. It offers high-speed compression and decompression, making it ideal for performance-sensitive applications. LZ4 is significantly faster than PGLZ, particularly for decompression, and processes data in fixed-size blocks (typically 64KB), using a hash table to find matches. This algorithm excels with binary data, such as images, audio, and video files.
In my internal research project aimed at understanding the performance of JSONB data under different use cases, I ran multiple performance tests on queries that process JSONB data. The results of some tests showed interesting and sometimes surprising performance differences between these algorithms. But presented examples are anecdotal and cannot be generalized. The aim of this article is to raise an awareness that there can be huge differences in performance, which vary depending on specific data and use cases and also on specific hardware. Therefore, these results cannot be applied blindly.
JSONB data is stored as a binary object with a tree structure, where keys and values are stored in separate cells, and keys at the same JSON level are stored in sorted order. Nested levels are stored as additional tree structures under their corresponding keys from the higher level. This structure means that retrieving data for the first keys in the top JSON layer is quicker than retrieving values for highly nested keys stored deeper in the binary tree. While this difference is usually negligible, it becomes significant in queries that perform sequential scans over the entire dataset, where these small delays can cumulatively degrade overall performance.
The dataset used for the tests consisted of GitHub historical events available as JSON objects from gharchive.org covering the first week of January 2023. I tested three different tables: one using PGLZ, one using LZ4, and one using EXTERNAL storage without compression. A Python script downloaded the data, unpacked it, and loaded it into the respective tables. Each table was loaded separately to prevent prior operations from influencing the PostgreSQL storage format.
The first noteworthy observation was the size difference between the tables. The table using LZ4 compression was the smallest, around 38GB, followed by the table using PGLZ at 41GB. The table using external storage without compression was significantly larger at 98GB. As the testing machines had only 32GB of RAM, none of the tables could fit entirely in memory, making disk I/O a significant factor in performance. About one-third of the records were stored in TOAST tables, which reflected a typical data size distribution seen by our clients.
To minimize caching effects, I performed several tests with multiple parallel sessions running testing queries, each with randomly chosen parameters. In addition to use cases involving different types of indexes, I also ran sequential scans across the entire table. Tests were repeated with varying numbers of parallel sessions to gather sufficient data points, and the same tests were conducted on all three tables with different compression algorithms.
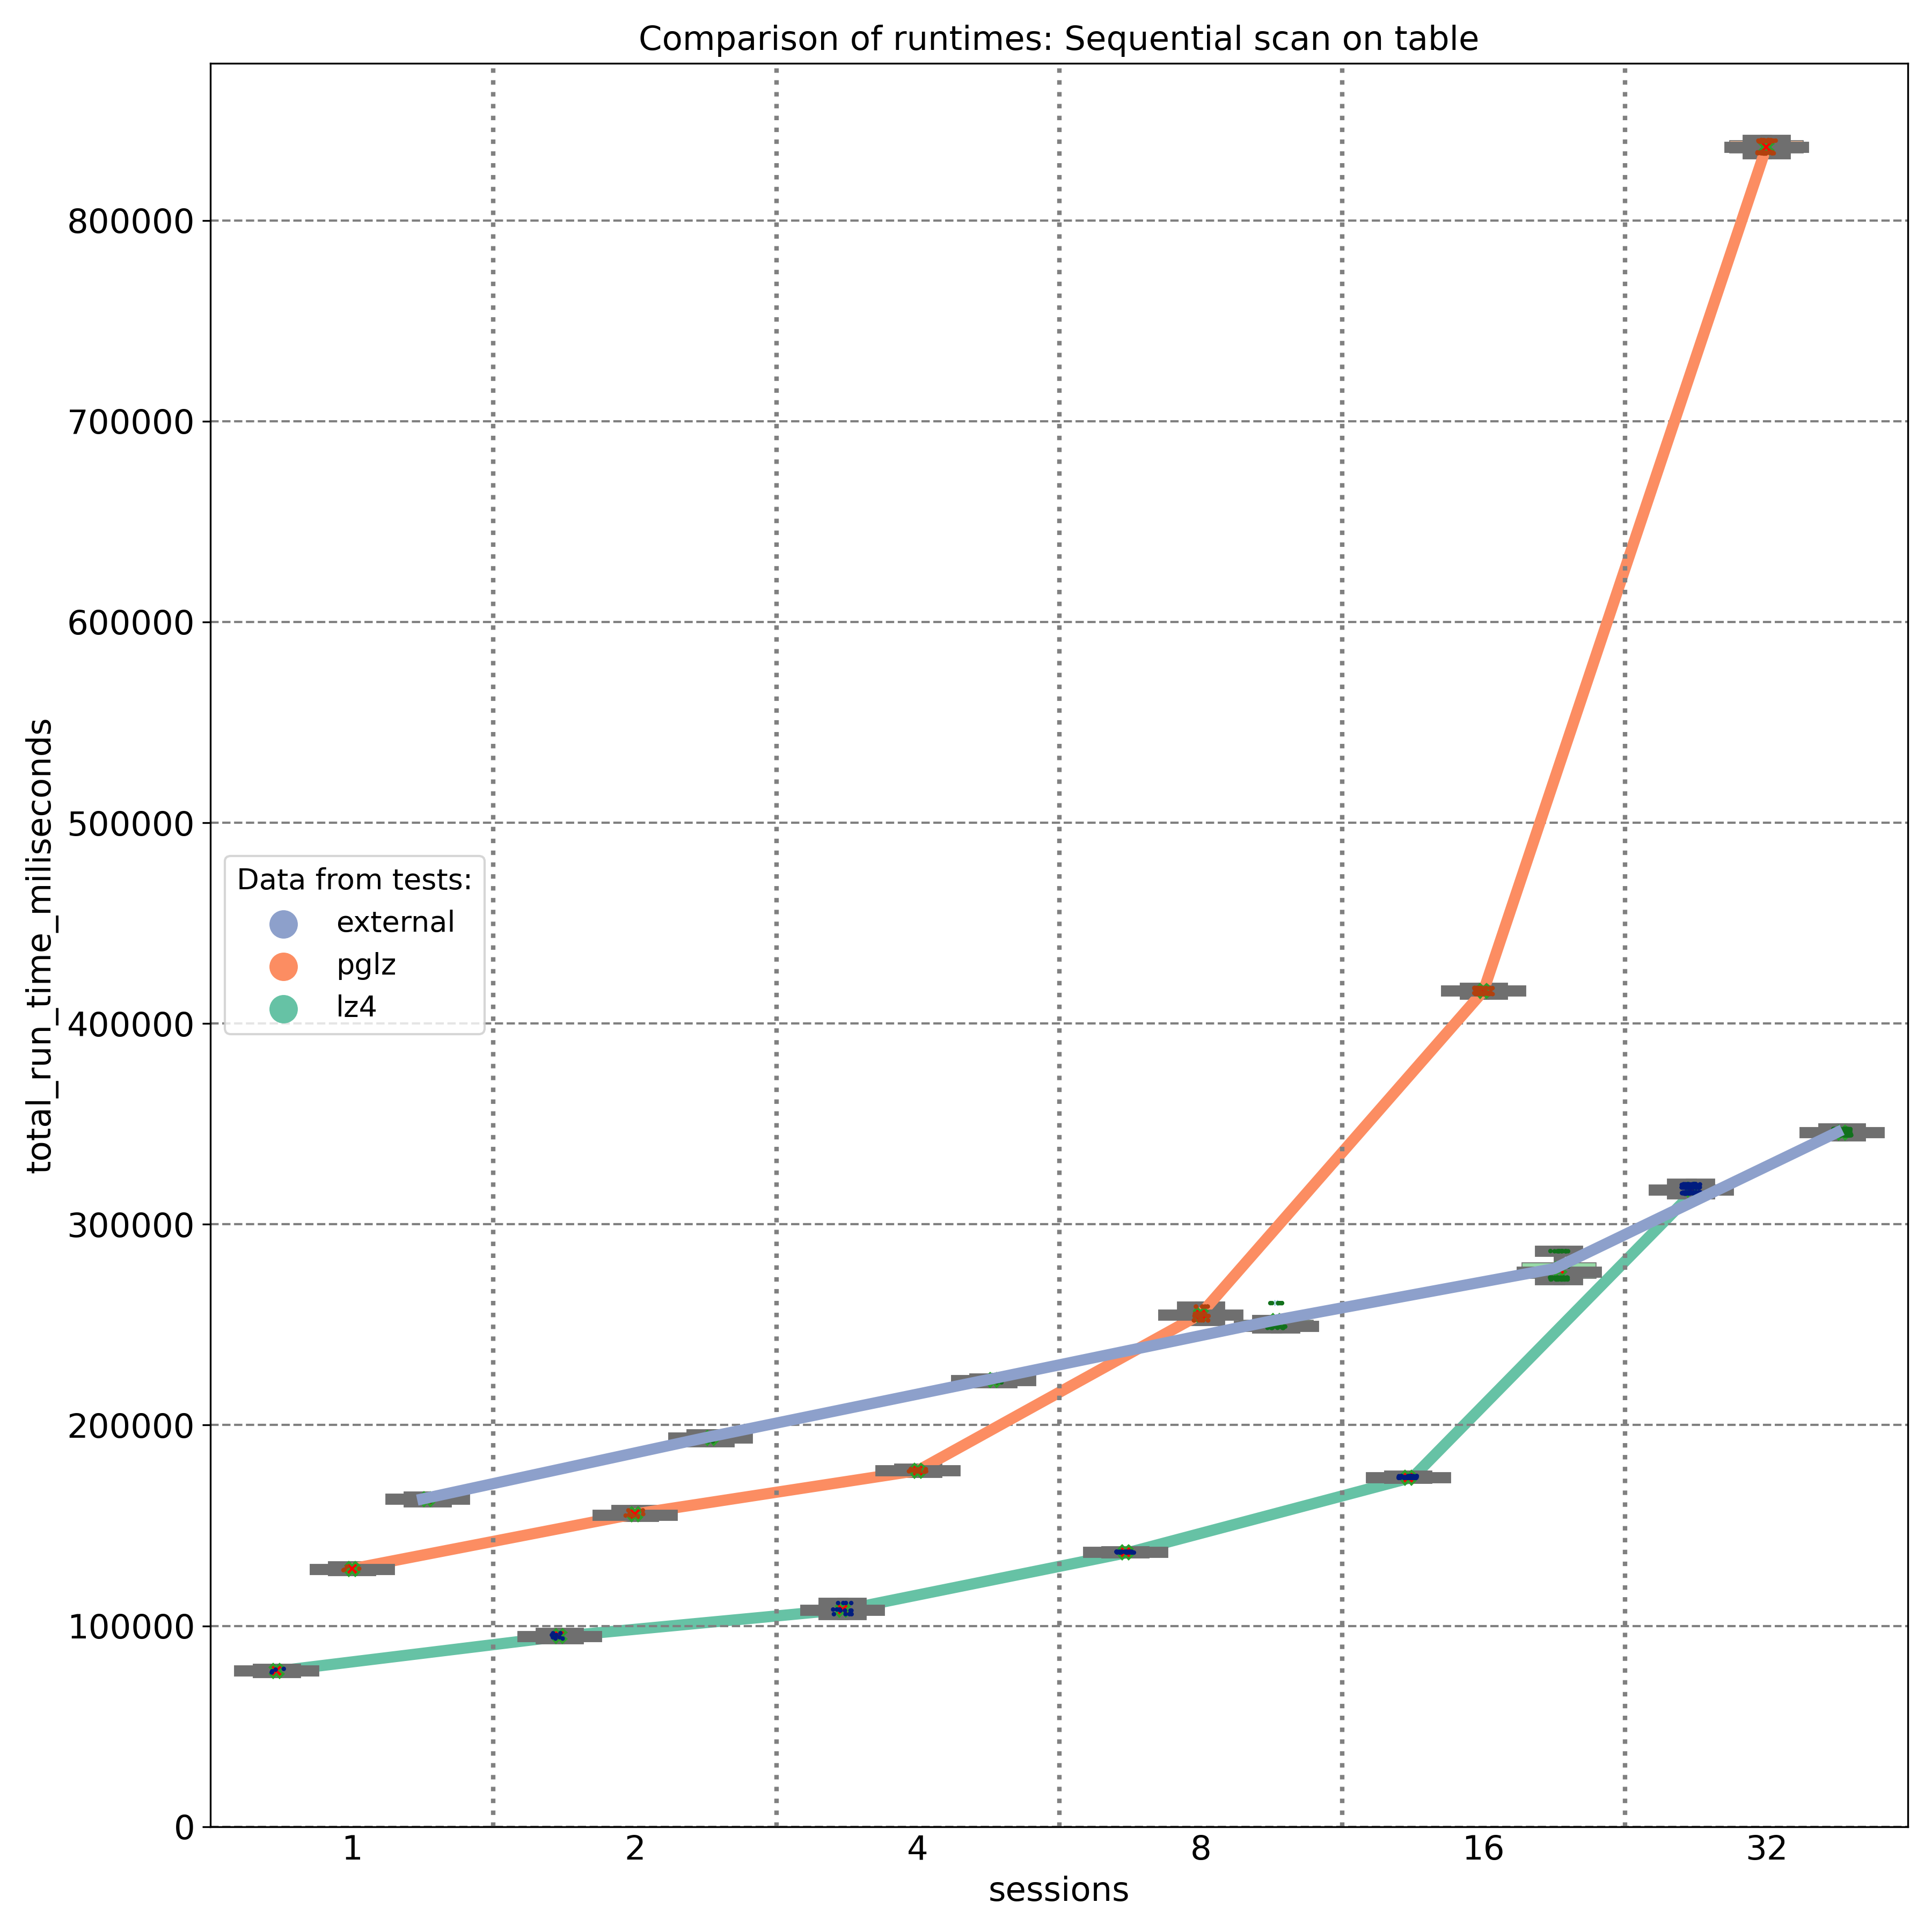
The first graph shows the results of select queries performing sequential scans, retrieving JSON keys stored at the beginning of the JSONB binary object. As expected, external storage without compression (blue line) provides nearly linear performance, with disk I/O being the primary factor. On an 8-core machine, the PGLZ algorithm (red line) performs reasonably well under smaller loads. However, as the number of parallel queries reaches the number of available CPU cores (8), its performance starts to degrade and becomes worse than the performance of uncompressed data. Under higher loads, it becomes a serious bottleneck. In contrast, LZ4 (green line) handles parallel queries exceptionally well, maintaining better performance than uncompressed data, even with up to 32 parallel queries on 8 cores.
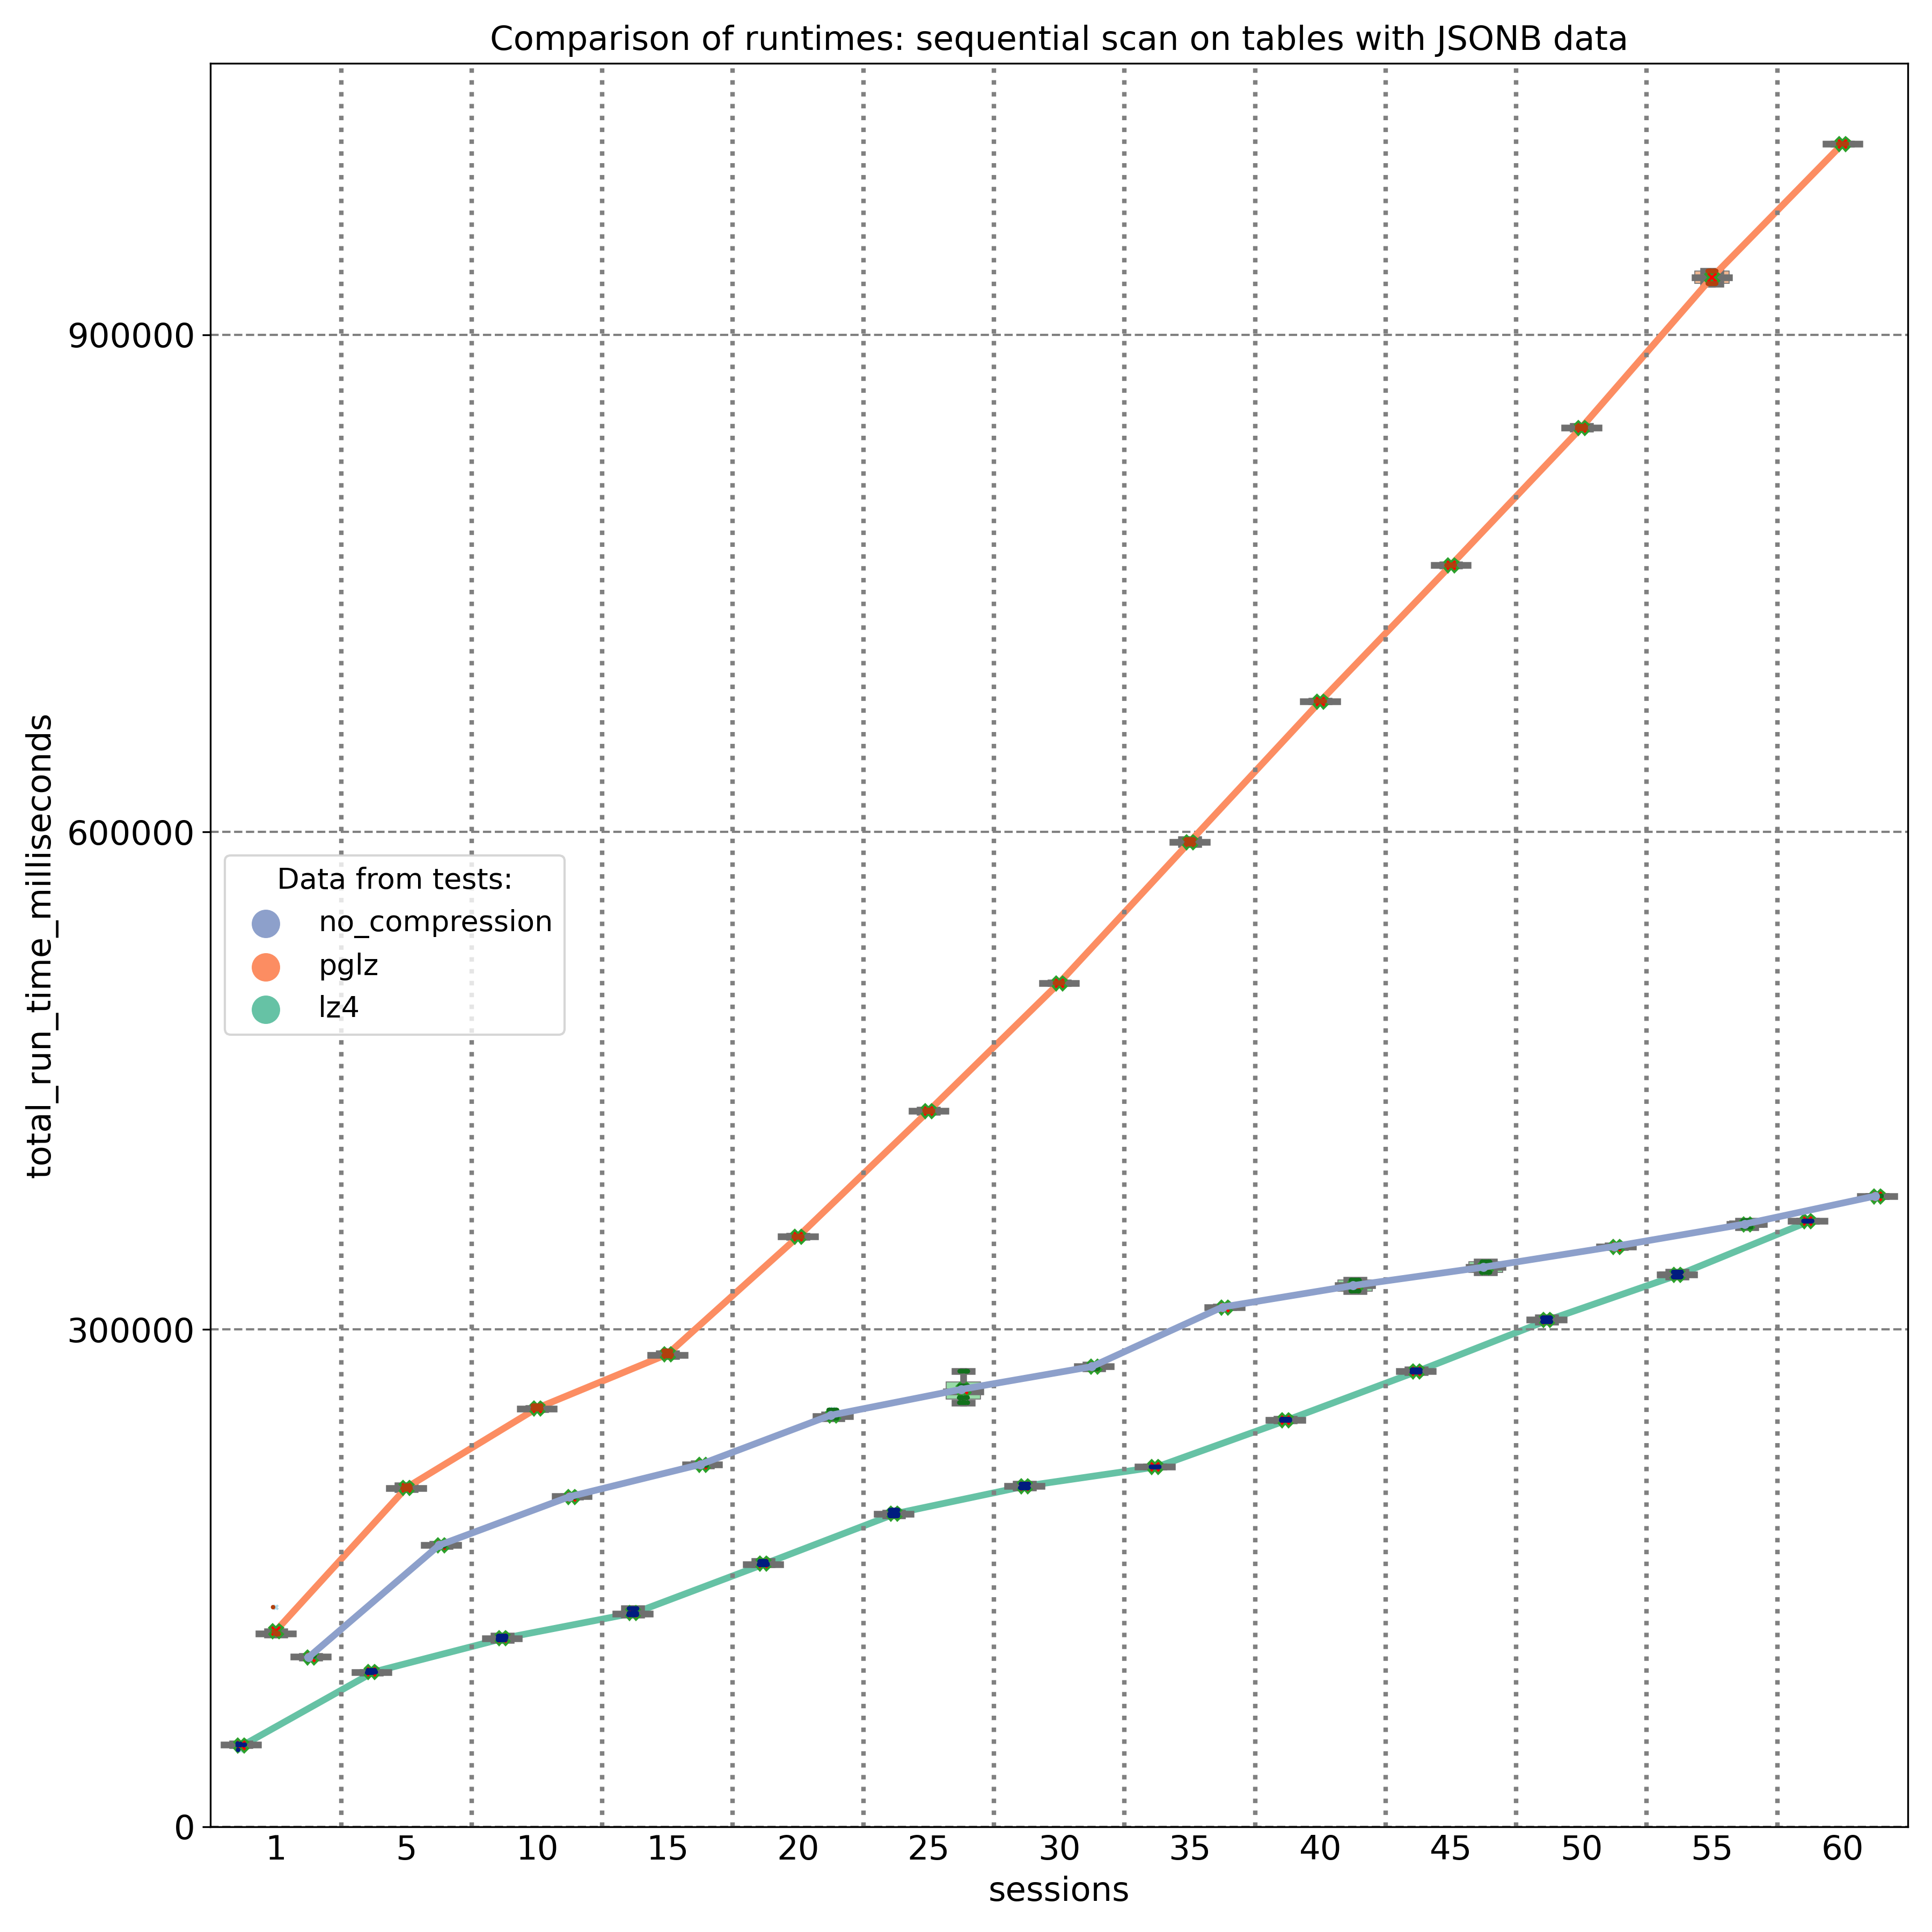
The second test targeted JSONB keys stored at different positions (beginning, middle, and end) within the JSONB binary object. The results, measured on a 20-core machine, demonstrate that PGLZ (red line) is slower than the uncompressed table right from the start. In this case, the performance of PGLZ degrades linearly, rather than geometrically, but still lags significantly behind LZ4 (green line). LZ4 consistently outperformed uncompressed data throughout the test.
But if we decide to change the compression algorithm, simply creating a new table with the default_toast_compression setting set to “lz4” and running INSERT INTO my_table_lz4 SELECT \* FROM my_table_pglz; will not change the compression algorithm of existing records. Each already compressed record retains its original compression algorithm. You can use the pg_column_compression system function to check which algorithm was used for each record. The default compression setting only applies to new, uncompressed data; old, already compressed data is copied as-is.
To truly convert old data to a different compression algorithm, we need to recast it through text. For JSONB data, we would use a query like: INSERT INTO my_table_lz4 (jsonb_data, …) SELECT jsonb_data::text::jsonb, … FROM my_table_pglz; This ensures that old data is stored using the new LZ4 compression. However, this process can be time and resource-intensive, so it’s important to weigh the benefits before undertaking it.
To summarize it – my tests showed significant performance differences between the PGLZ and LZ4 algorithms for storing compressed JSONB data. These differences are particularly pronounced when the machine is under high parallel load. The tests showed a strong degradation in performance on data stored with PGLZ algorithm, when the number of parallel sessions exceeded the number of available cores. In some cases, PGLZ performed worse than uncompressed data right from the start. In contrast, LZ4 consistently outperformed both uncompressed and PGLZ-compressed data, especially under heavy loads. Setting LZ4 as the default compression for new data seems to be the right choice, and some cloud providers have already adopted this approach. However, these results should not be applied blindly to existing data. You should test your specific use cases and data to determine if conversion is worth the time and resource investment, as converting data requires re-casting and can be a resource-intensive process.
Introduction
Running ANALYZE (either explicitly or via auto-analyze) is very important in order to have uptodate data statistics for the Postgres query planner. In particular after in-place upgrades via pg_upgrade, ANALYZE needs to be run in order to have any query statistics at all. As ANALYZE samples only parts of the blocks in a table its I/O pattern looks more like random access than sequential read. Version 14 of Postgres has gained the possibility to use prefetching (if available, but this is the case on Linux) to tell the operating system kernel which blocks it will look at next. This is controlled via the maintenenance_io_concurrency configuration parameter, which is set to 10 by default (contrary to effective_io_concurrency, which is set to 1 by default).
Benchmark
In order to test and demonstrate the changes between version 13 and 14, we have done some quick benchmarks using the current maintenance releases (13.16 and 14.13) on Debian 12 with packages from https://apt.postgresql.org. Hardware-wise, a ThinkPad T14s Gen 3 with a Intel i7-1280P CPU with 20 cores and 32 GB of RAM was used. The basis is a pgbench database, initialized with scale factor of 1000:
$ pgbench -i -I dtg -s 1000 -d pgbenchThis creates 100 million rows and leads to a database size of around 15 GB. In order to have ANALYZE do a bit more work, we increase default_statistics_target from the default of 100 to the same value as the pgbench scale factor (i.e., 1000). This results in ANALYZE scanning around 20% of all blocks. We then analyze the main pgbench table, pgbench_accounts:
    $ vacuumdb -Z -v -d pgbench -t pgbench_accounts
    INFO:  analyzing "public.pgbench_accounts"
    INFO:  "pgbench_accounts": scanned 300000 of 1639345 pages,
           containing 18300000 live rows and 0 dead rows;
           300000 rows in sample, 100000045 estimated total rows
Between runs, the file system page cache is dropped via echo 3 | sudo tee /proc/sys/vm/drop_caches and all runs are repeated three times. The following table lists the run-times (in seconds) of the above vacuumdb command for various settings of maintenance_io_concurrency:
| Version | 0 | 1 | 5 | 10 | 20 | 50 | 100 | 500 |
|---|---|---|---|---|---|---|---|---|
| 13 | 19.557 | 21.610 | 19.623 | 21.060 | 21.463 | 20.533 | 20.230 | 20.537 |
| 14 | 24.707 | 29.840 | 8.740 | 5.777 | 4.067 | 3.353 | 3.007 | 2.763 |
Analysis
Two things are very clear from those numbers: First, the run-times do not change for version 13, the value of maintenance_io_concurrency has no effect for this version. Second, once prefetching kicks in for version 14 (maintenance_io_concurrency is 5 or more), ANALYZE gets several times faster, up to a factor of 6-7x. The default value of maintenance_io_concurrency of 10 is already 3-4x faster and values larger than 50 show only minor further improvements, at least for this benchmark on this hardware. Also notable is that the run-times when prefetching is turned off (maintenance_io_concurrency=0) or only set to 1 are worse than for version 13, but as the default for maintenance_io_concurrency is 10, this should not affect anybody in practice.
Conclusion
Enabling prefetching for ANALYZE in version 14 of PostgreSQL has made statistics sampling much faster. The default value of 10 for maintenance_io_concurrency is already quite good, but we advise to increase it to 20-50 (or higher) in case high-performing local NVME storage is used. In a future quick benchmark, we plan to compare the ANALYZE performance for the major versions since 14. In particular, the upcoming 17 release promises some further improvements to ANALYZE due to the new streaming I/O interface.